There are various ways to create a new username in WordPress if you prefer not to use the default login username. This guide explores multiple methods to update your WordPress username. It is advisable to backup your WordPress site through the dashboard before making any changes to the database.
OPTION 1: Through the WordPress Dashboard
This method involves creating an additional WordPress user, as usernames cannot be directly edited from the WordPress Dashboard. If you prefer not to create a new user, refer to Option 2 for instructions on changing your username using phpMyAdmin.
STEP 1: Log in to your WordPress Dashboard.
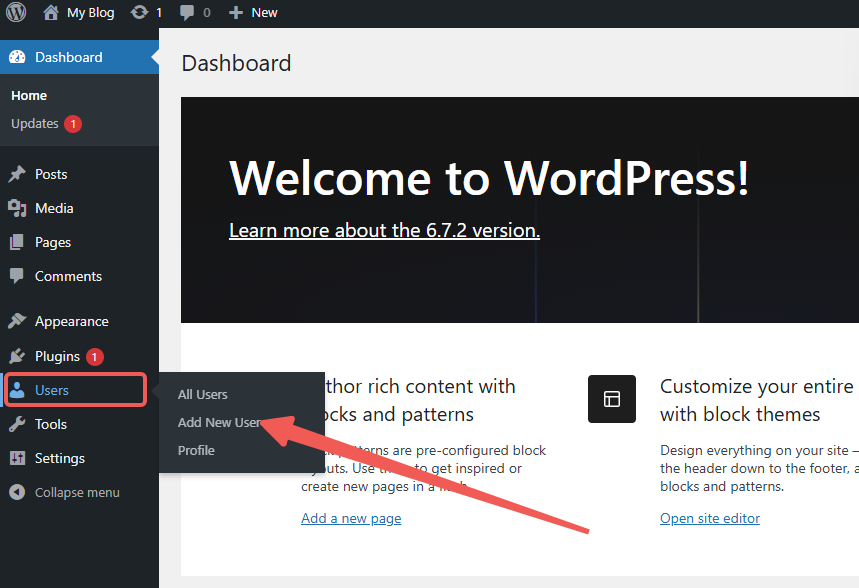
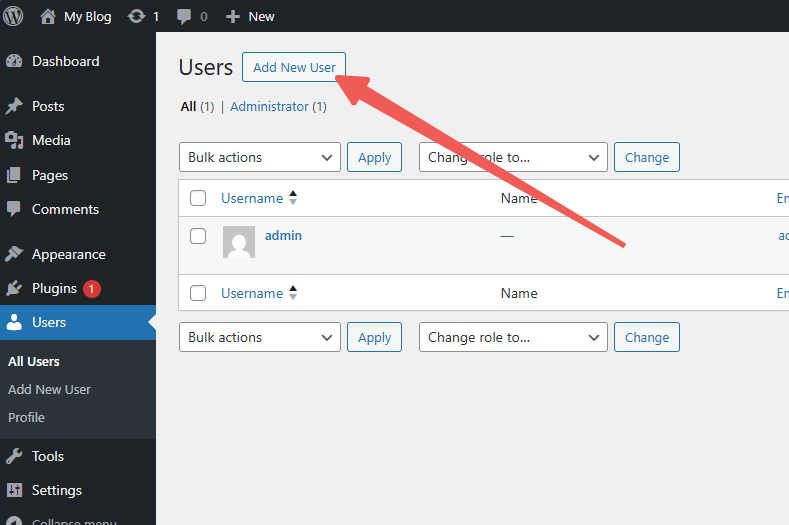
STEP 2: On the Users page, click on Add New User.
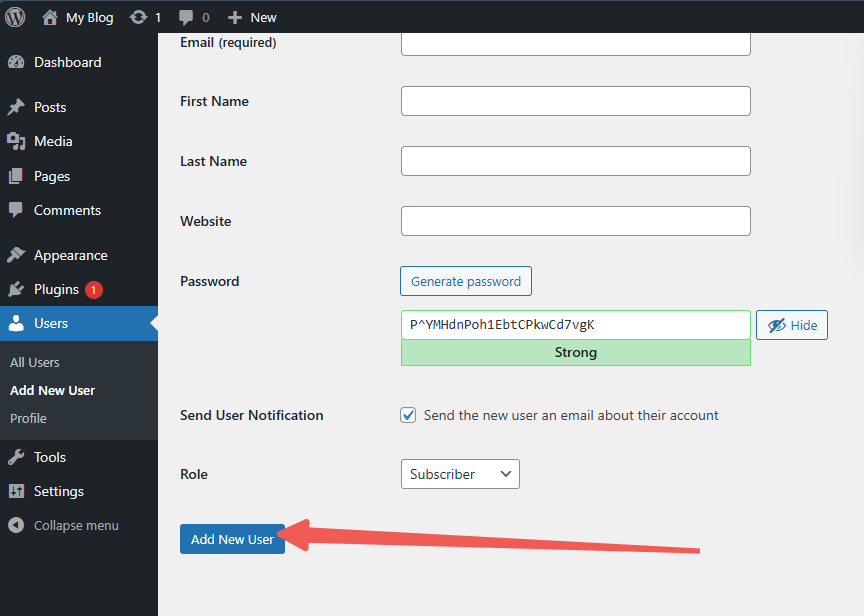
STEP 3: You will be taken to the Add New User page. Fill in the necessary details as prompted.
- Create a new username.
- Enter your email address.
- Fill in the fields for First Name, Last Name, and Website.
- Set a new password and enter it in both password fields.
- Check the box to notify the new user about their account via email.
- Choose the appropriate role for the new user.
STEP 4: Click Add New User.
OPTION 2: Through phpMyAdmin
STEP 1: Log in to cPanel.
There are three methods to log into your cPanel.
- Method 1: Log in to your cPanel directly.
- Method 2: Log in to your cPanel through your Customer Portal.
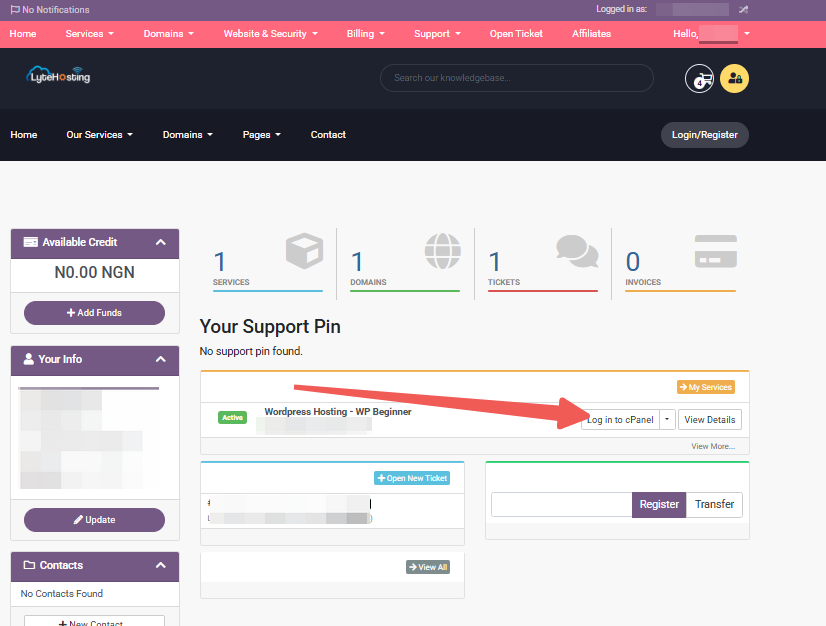
Through your Customer Portal;
- Log in to your Customer Portal.
- Click on "Log in to cPanel".
- Method 3: Log in using the details sent to your Email.
Through your Email;
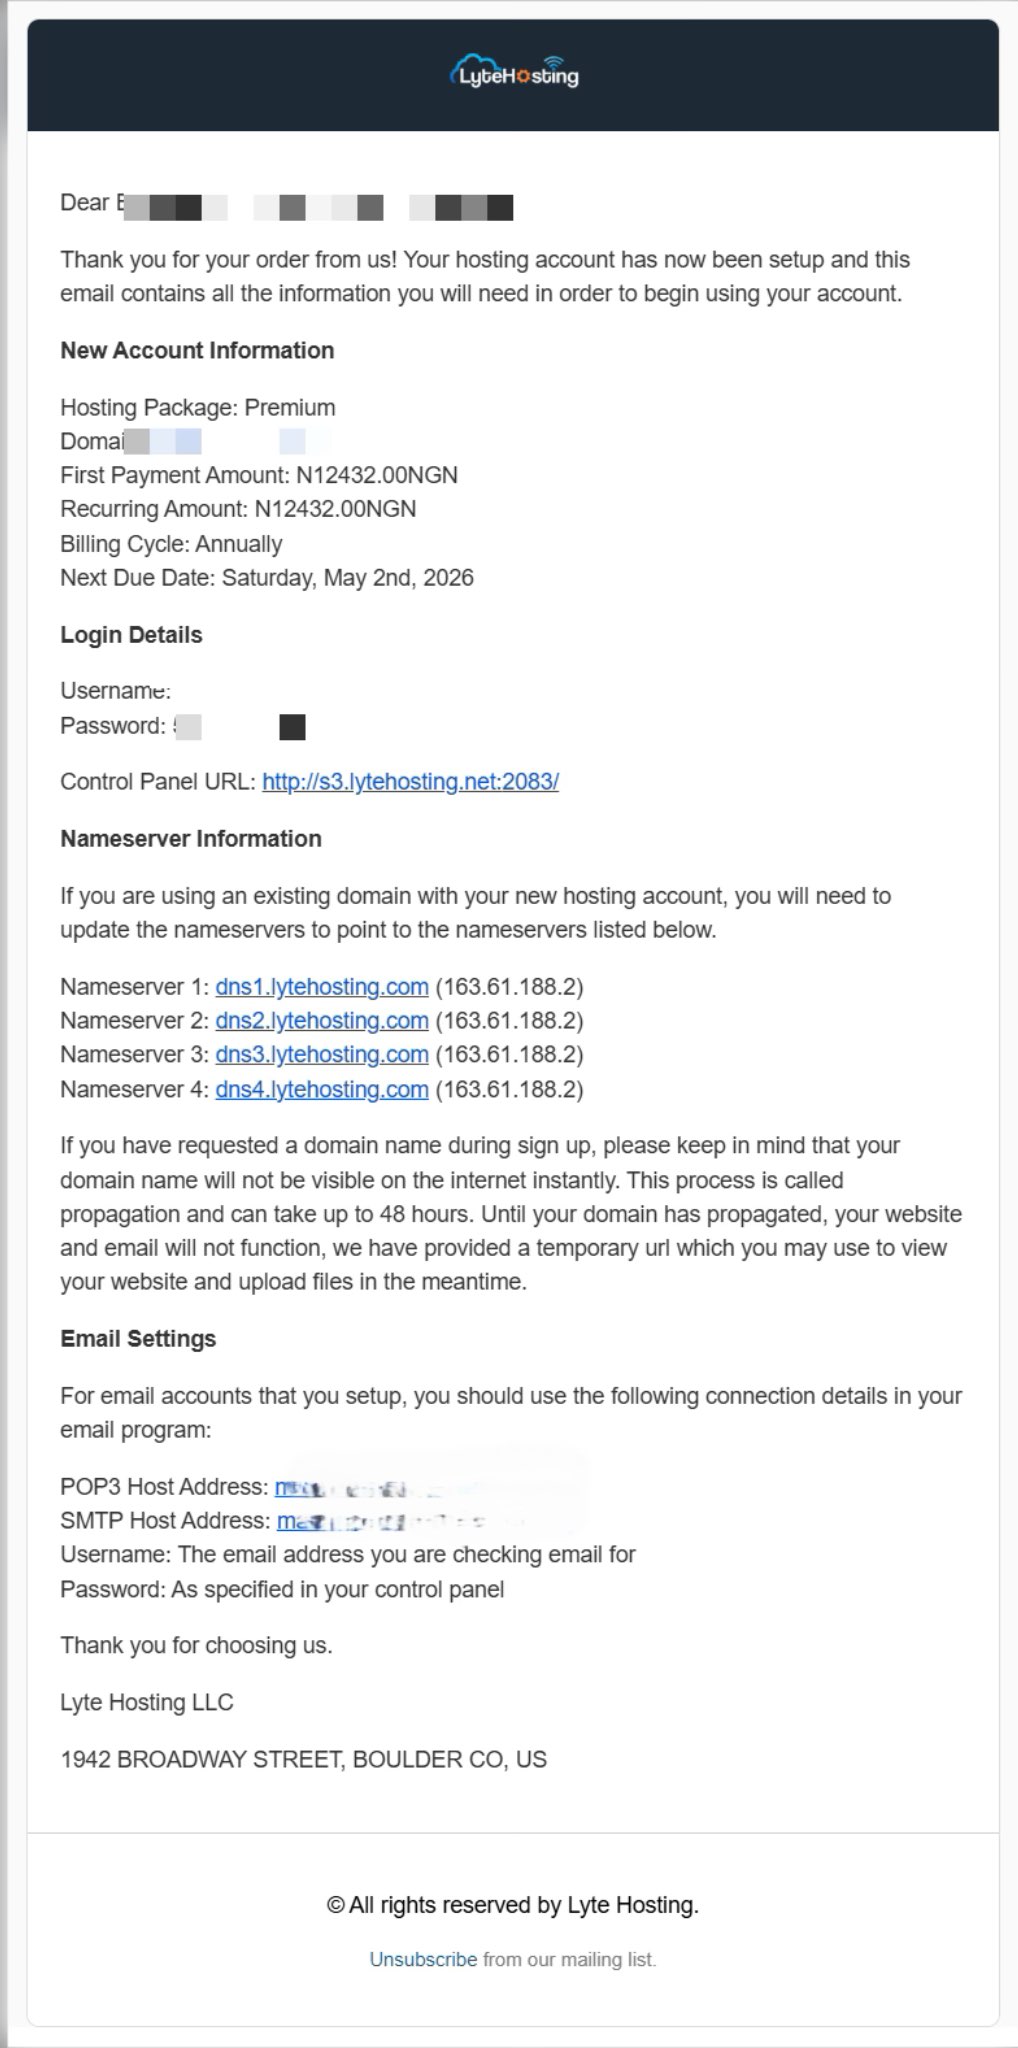
- When you purchase a hosting plan, your cPanel login details (including username, password, and cPanel URL) are automatically sent to your registered email address. Simply check your inbox (or spam folder), locate the email, and use the provided credentials to access your cPanel.
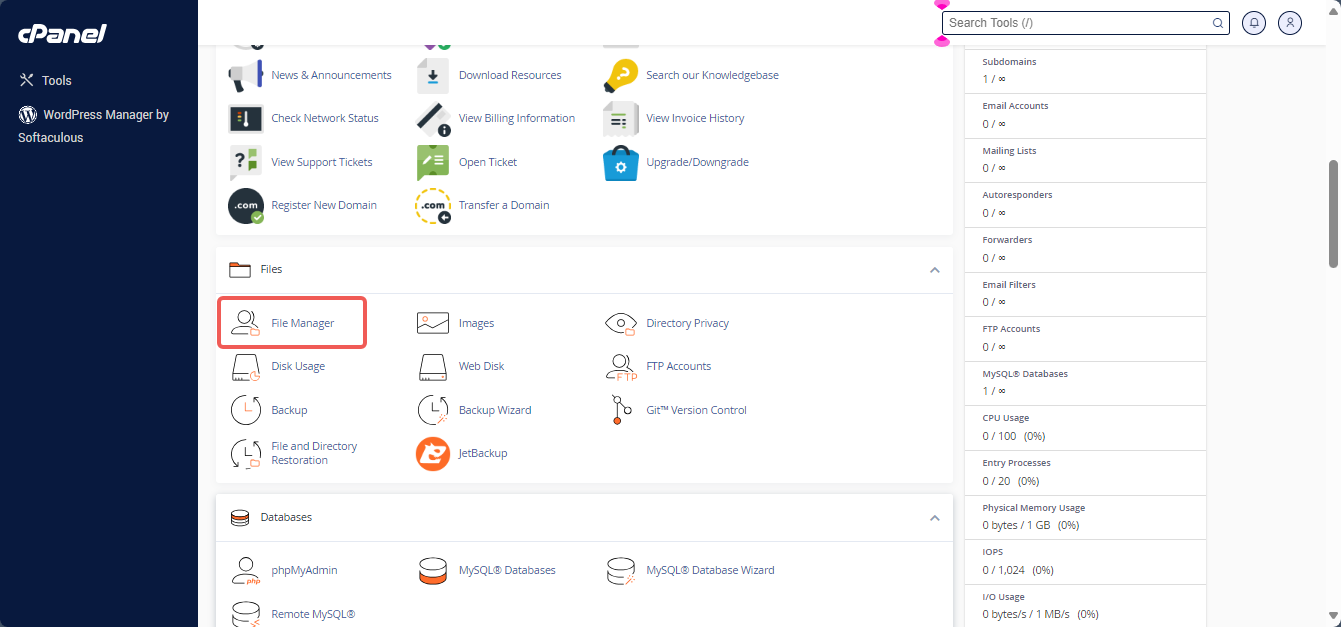
STEP 2: Locate the Files section and click on File Manager.
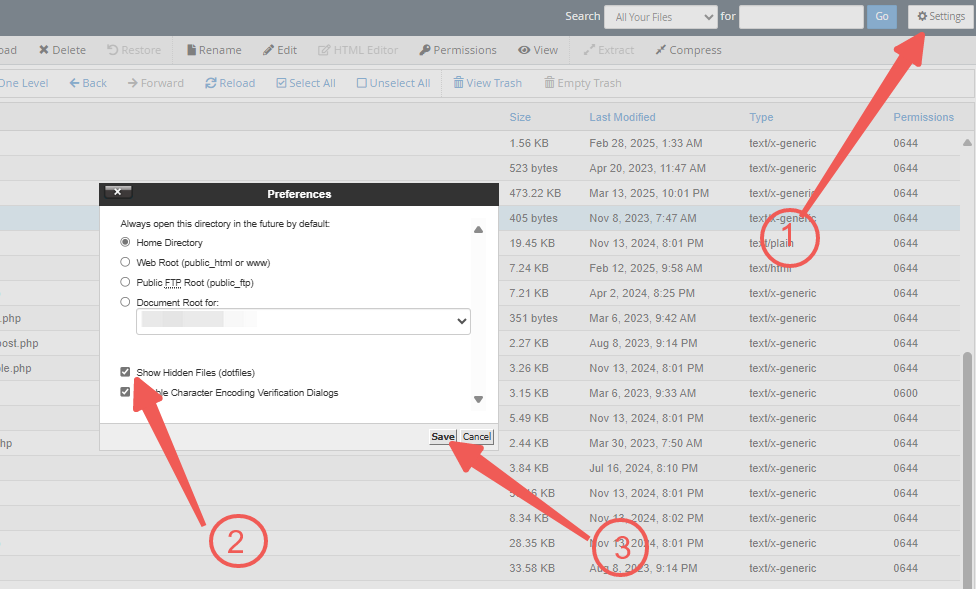
STEP 3: Click the Settings button in the top-right corner.
STEP 4: From the pop-up screen, select Document Root, then choose your WordPress domain name.
STEP 5: Check the box for Show Hidden Files (dotfiles).
STEP 6: Click Save.
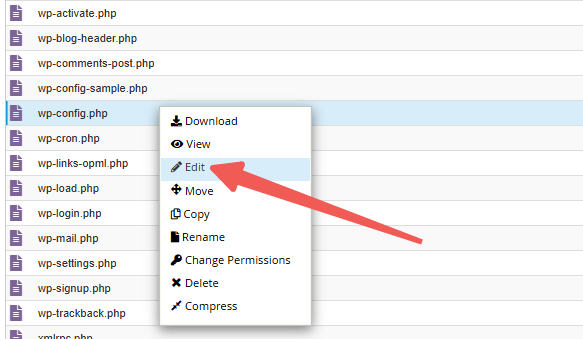
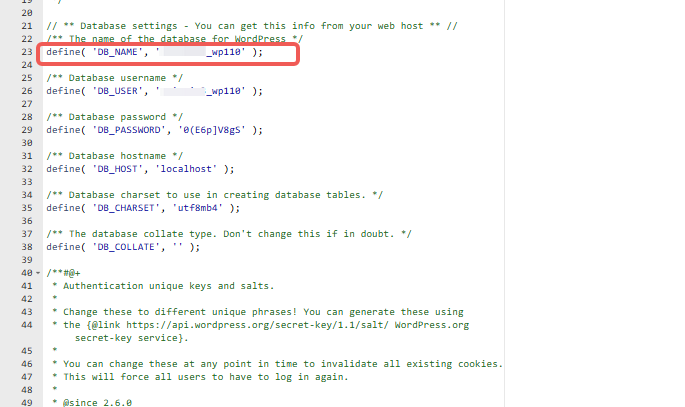
STEP 7: Next, search for the wp-config.php file.
STEP 8: Right-click and select Edit.
STEP 9: Note the database name, which will look like this:
define('DB_NAME', 'domain_wrdp1')
(The "Domain" part will be a prefixed version of your actual domain name or cPanel username.)
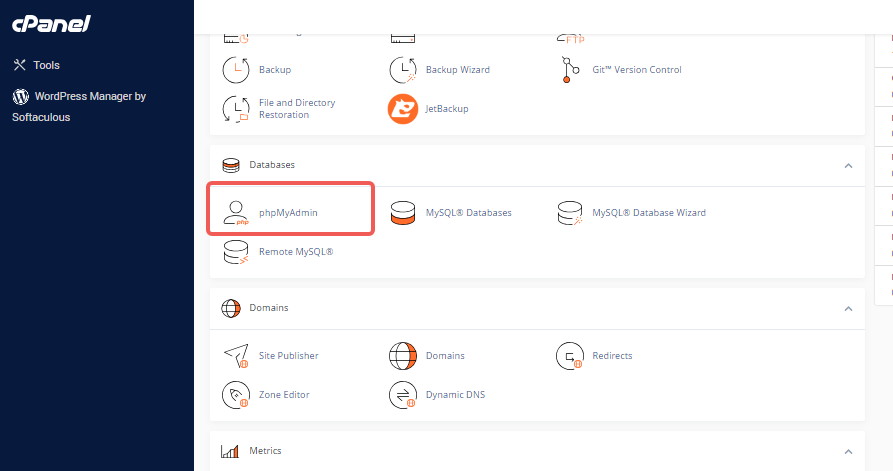
STEP 10: Return to the cPanel homepage.
STEP 11: In the Databases section, click phpMyAdmin.
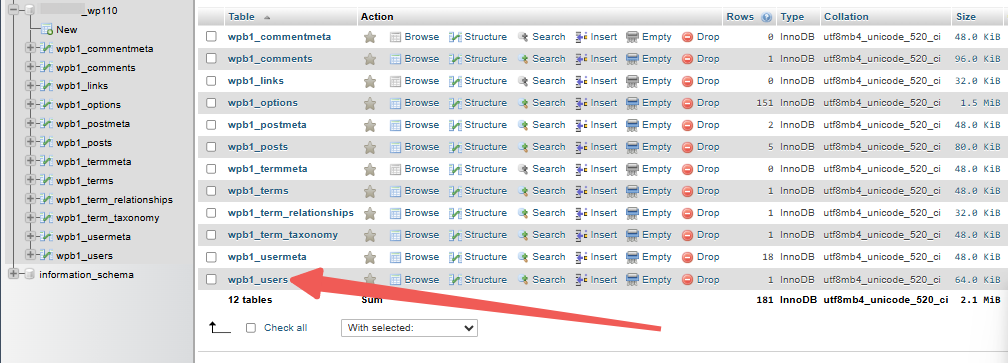
STEP 12: From the left-side navigation menu, select the appropriate database name from Step 9.
STEP 13: Next, find wp_users and click on it.
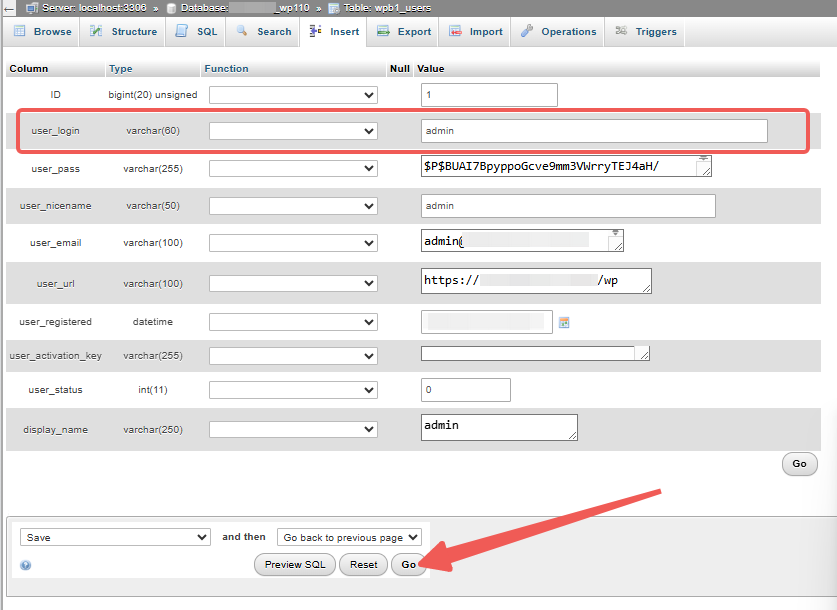
STEP 14: In the table next to the database login information, click Edit.
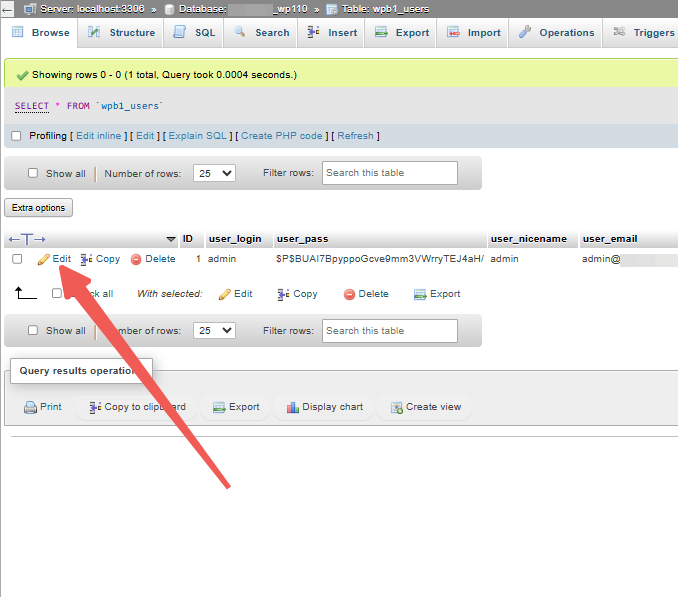
STEP 15: Find the user_login column, click on your current username, and change it to your preferred name.
STEP 16: Click Go.
You should now be able to login to your WordPress site using the new username.
OPTION 3: Through Softaculous
STEP 1: Log in to cPanel (Refer to the steps above if you need guidance on accessing your cPanel.)
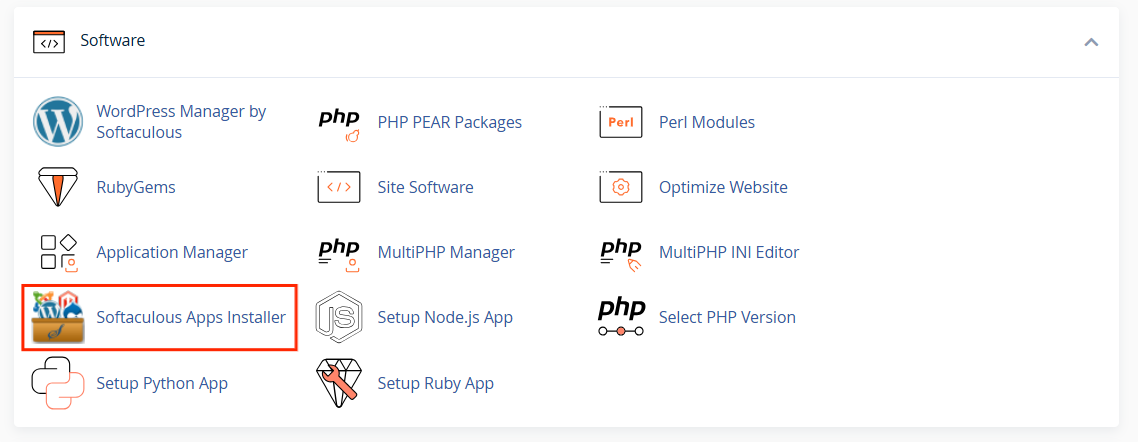
STEP 2: Locate the Software section and click on Softaculous Apps Installer.
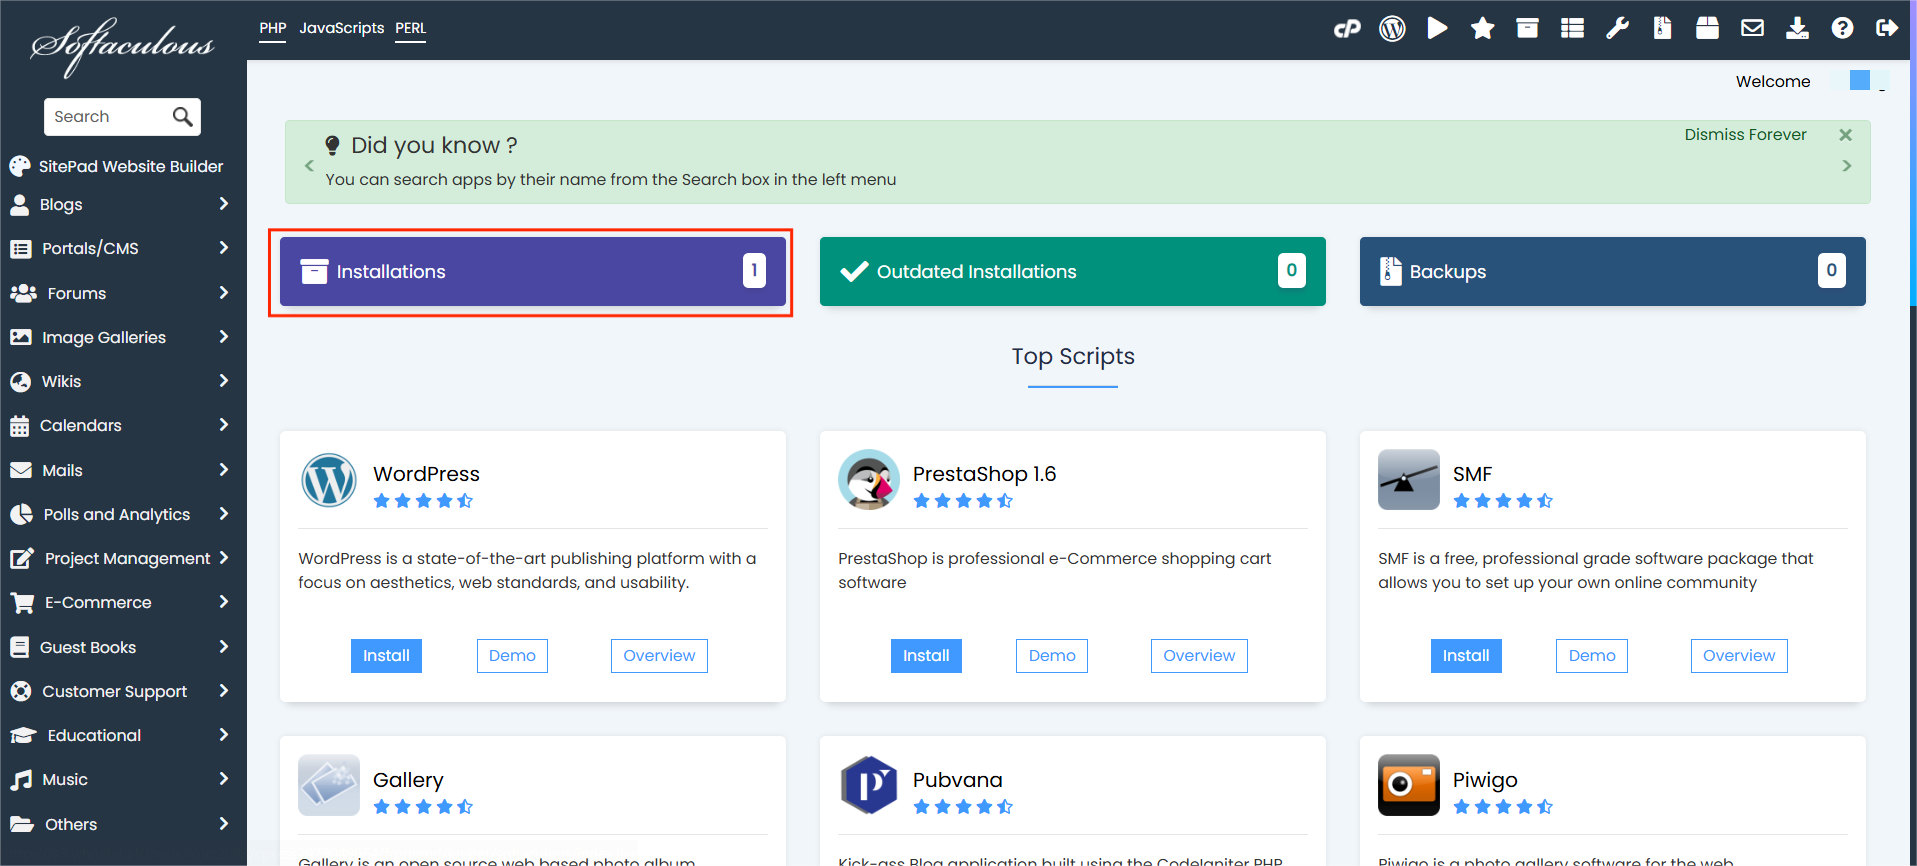
STEP 3: This will open the Softaculous interface. At the top of the page, you will see options for your installed scripts. Click on the Installations box.
STEP 4: Find the domain you want to update and click the pencil icon.

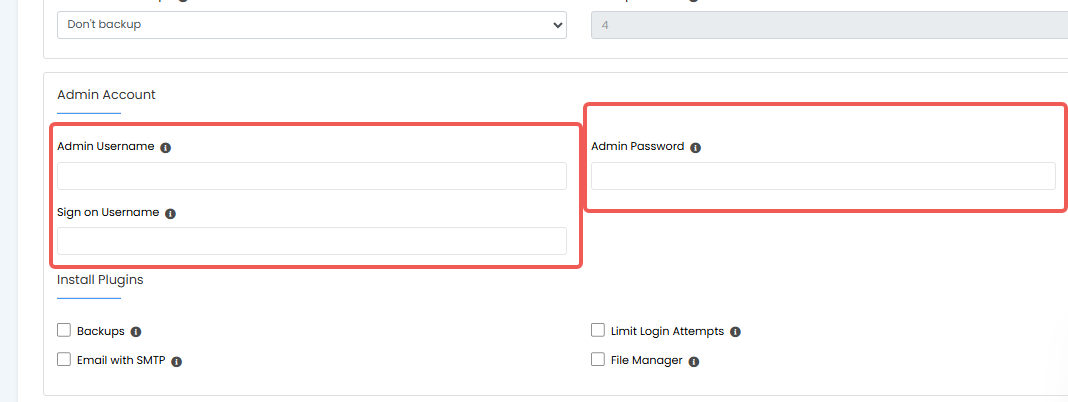
STEP 5: Navigate to the Admin Account section, then enter your desired username in the Sign on Username field, and your password in Admin Password.
STEP 6: Click the Save Installation Details tab at the bottom of the page.


