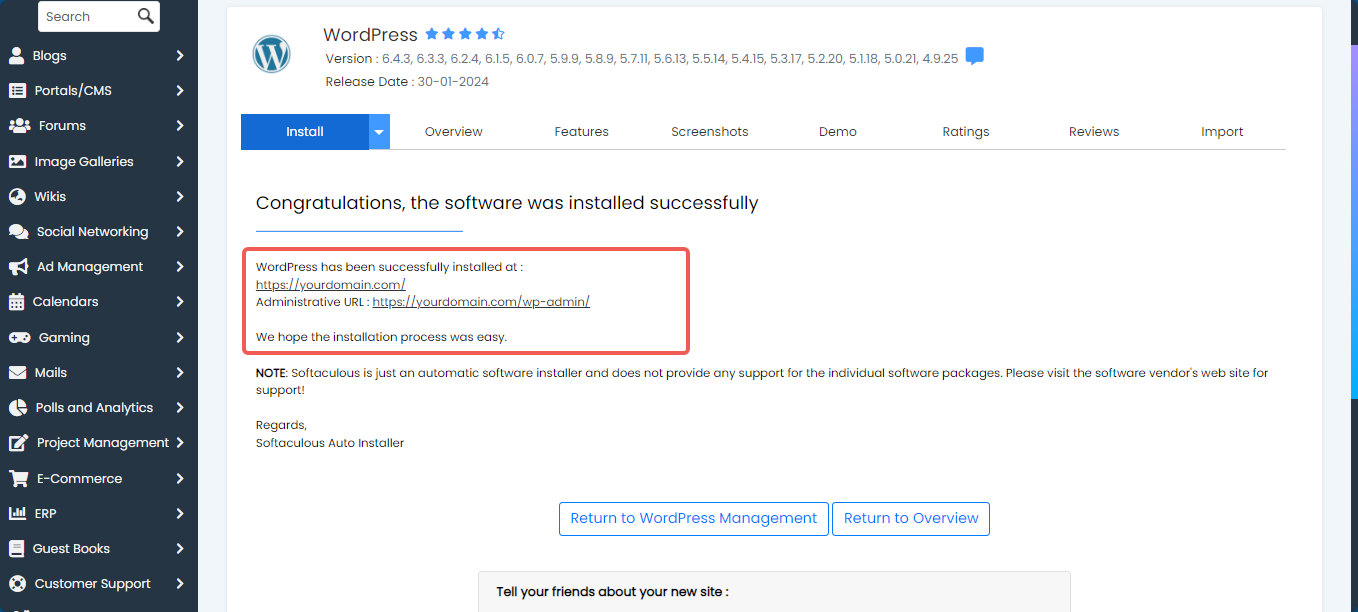
WordPress has a solid reputation as one of the most widely used blogging platforms. Its user-friendly interface is visually appealing and installation is simple. The procedures listed below will walk you through installing WordPress on Lytehosting using Softaculous.
STEP 1: Log in to your cPanel.
There are three methods to log into your cPanel.
- Method 1: Log in to your cPanel directly.
- Method 2: Log in to your cPanel through your Customer Portal.
Through your Customer Portal;
- Log in to your Customer Portal.
- Click on "Log in to cPanel".
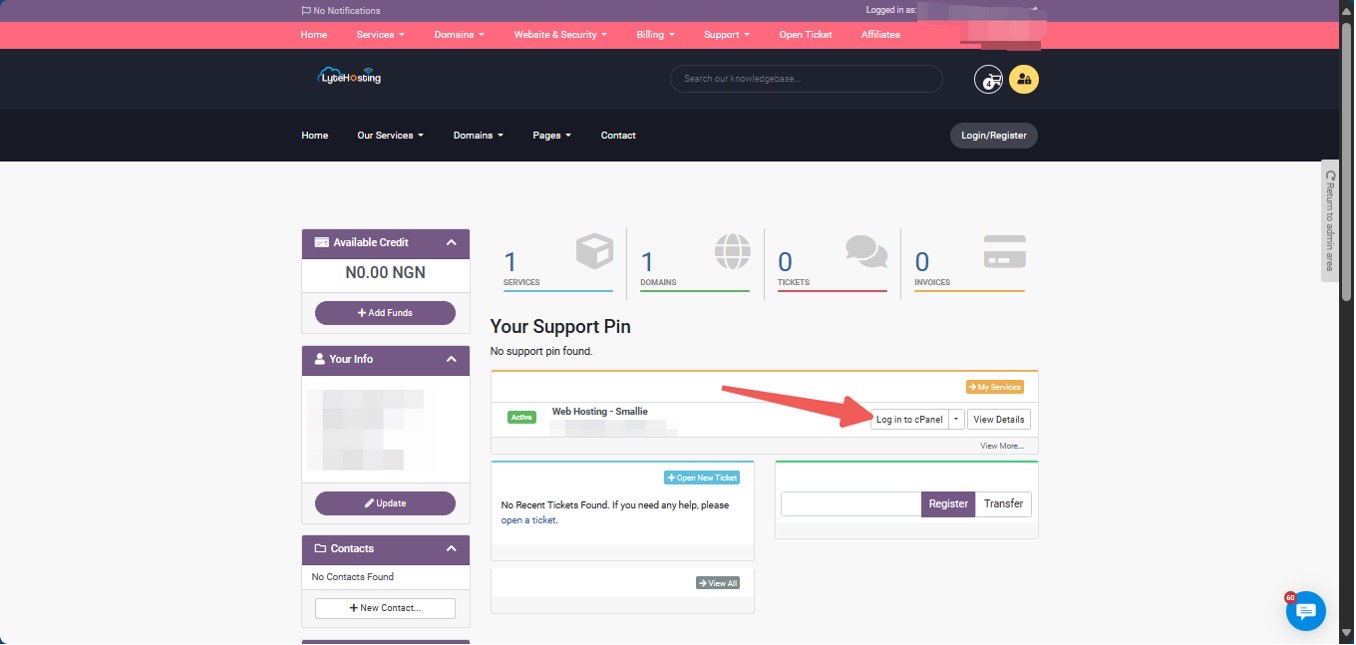
- Method 3: Log in using the details sent to your Email.
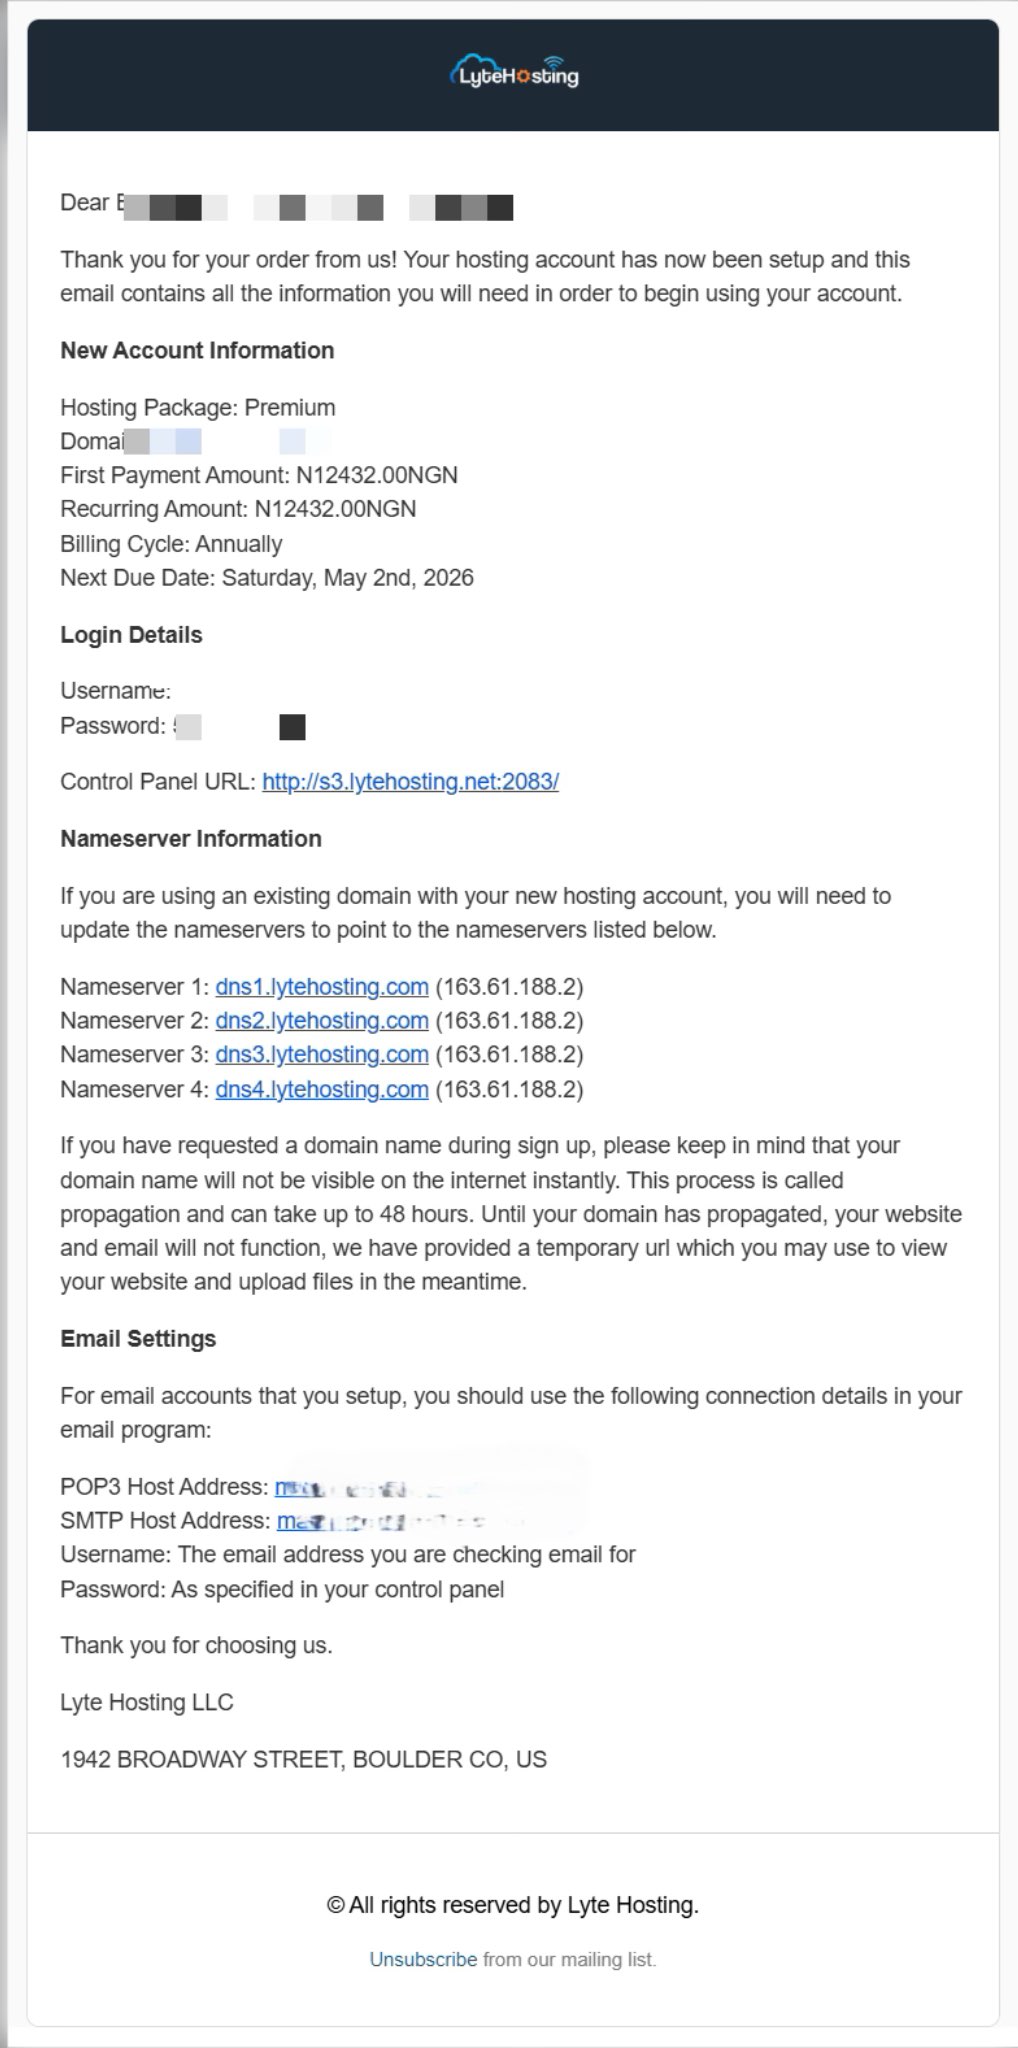
Through your Email;
- When you purchase a hosting plan, your cPanel login details (including username, password, and cPanel URL) are automatically sent to your registered email address. Simply check your inbox (or spam folder), locate the email, and use the provided credentials to access your cPanel.
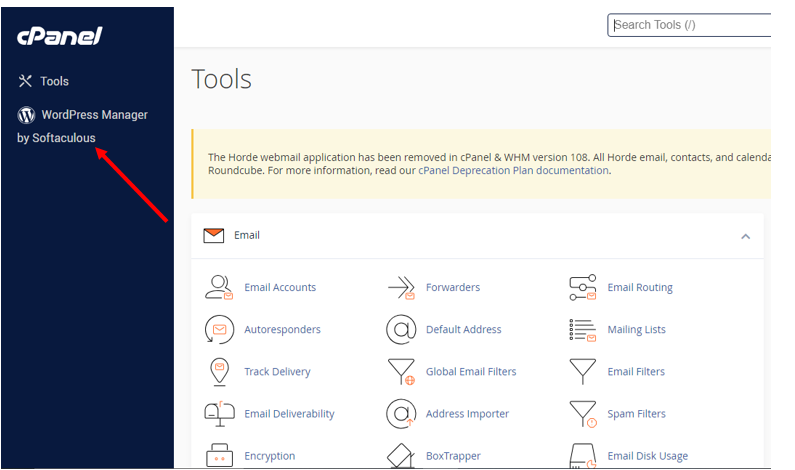
STEP 2: Click on WordPress Manager by Softaculous after navigating to the cPanel menu.
STEP 3: Hover over WordPress Management on the Softaculous homepage, then select Install.
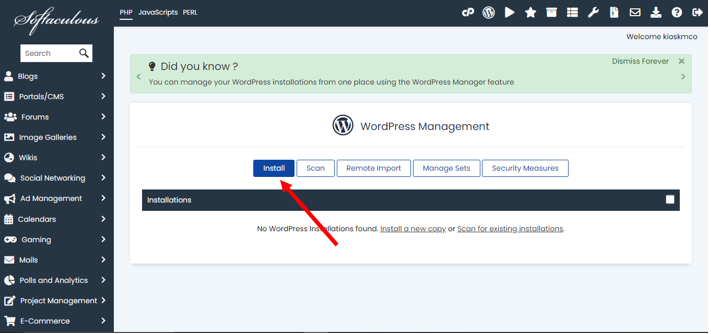
STEP 4: Fill up the Select Installation URL field in Software Setup.

- Choose Protocol: By using the SSL certificate, it should automatically default to the https:// option, guaranteeing the security of your website.
- Choose Domain: Choose the domain you want Softaculous installed on.
- In Directory: Primarily, this would be left empty. When installing WordPress in a subdirectory, this field is used.
STEP 5: Finalize the remaining installation setup. Select the WordPress version that you wish to install. Since the most recent version will be the safest and should work with the majority of themes and plugins, we recommend applying it.

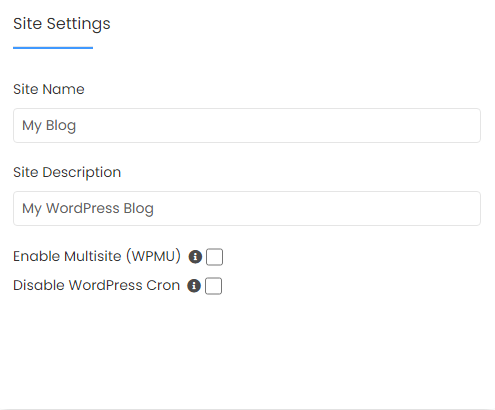
STEP 6: Entering a Site Name and Site Description is required in the Site Settings section. You can modify this after installation and make it anything you want.
STEP 7: Complete the Admin Account section.
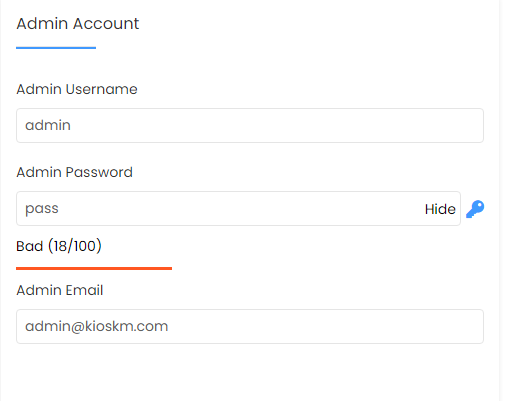
- Admin Username: We recommend changing the username from the default 'admin' that comes with every WordPress installation, as this indicates a security risk.
- Admin Password: Using the key icon, you can generate a password or create one yourself.
- Admin Email: WordPress notifications, such as password reset requests (in the event that you forget your password), will be sent to this address.
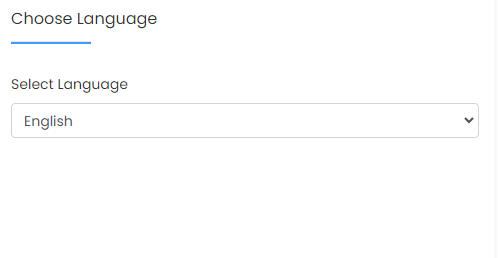
STEP 8: You can choose which language will be the default on your website by clicking on Choose Language.
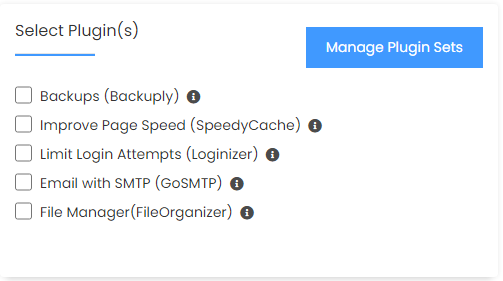
STEP 9: You can choose which plugins to utilize for your website in the Select Plugin(s) section.
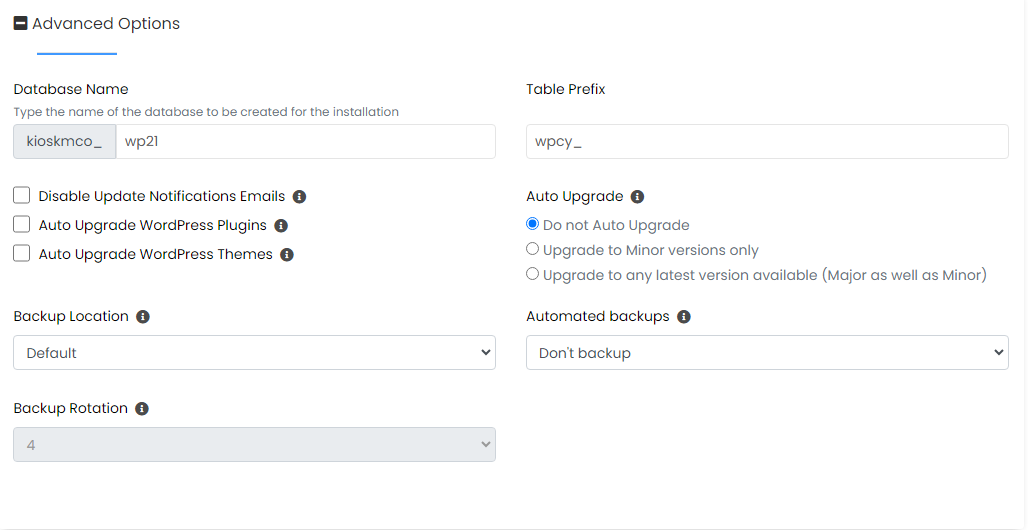
STEP 10: The options in the Advanced Options section, which include the database name, table prefix, auto-upgrade setting, disable update notification emails, and more, don't need to be modified.
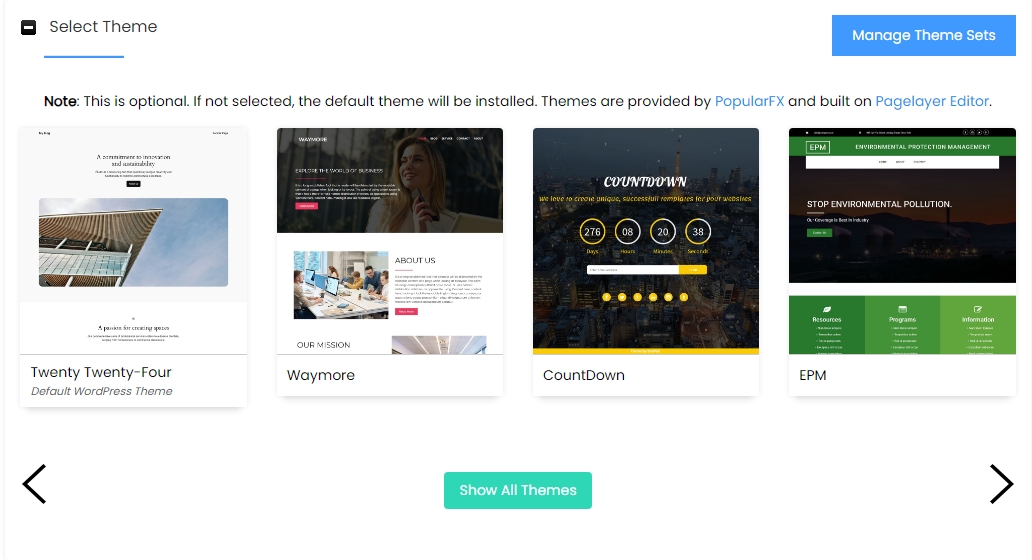
STEP 11: You can choose a theme for your website using the Select Theme feature. WordPress employs a theme that reflects the name of the year by default, but you can select one that best suits the objectives of your website.
STEP 12: Click "Install" when finished. When the installation is finished, a progress bar that displays your installation status will reload. Keep in mind that closing the browser could cause the installation to stop midway through.
STEP 13: Congratulations! You can now modify your WordPress site.
