It is common knowledge that backups are crucial for a website. Softaculous can be used to build a website backup if you install a script, like WordPress. This article covers the creation of a backup installation using Softaculous.
Also, you might want to monitor how much disk space you are using because the size of your backups will take up space on your server.
Steps for Creating Backups
The steps for creating a backup using Softaculous:
STEP 1: Log in to cPanel.
There are three methods to log into your cPanel.
- Method 1: Log in to your cPanel directly.
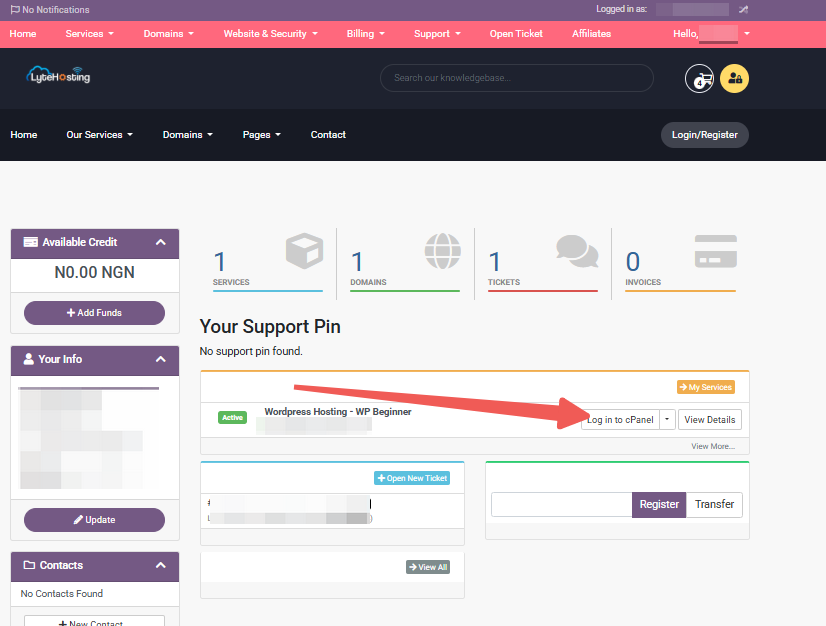
- Method 2: Log in to your cPanel through your Customer Portal.
Through your Customer Portal;
- Log in to your Customer Portal.
- Click on "Log in to cPanel".
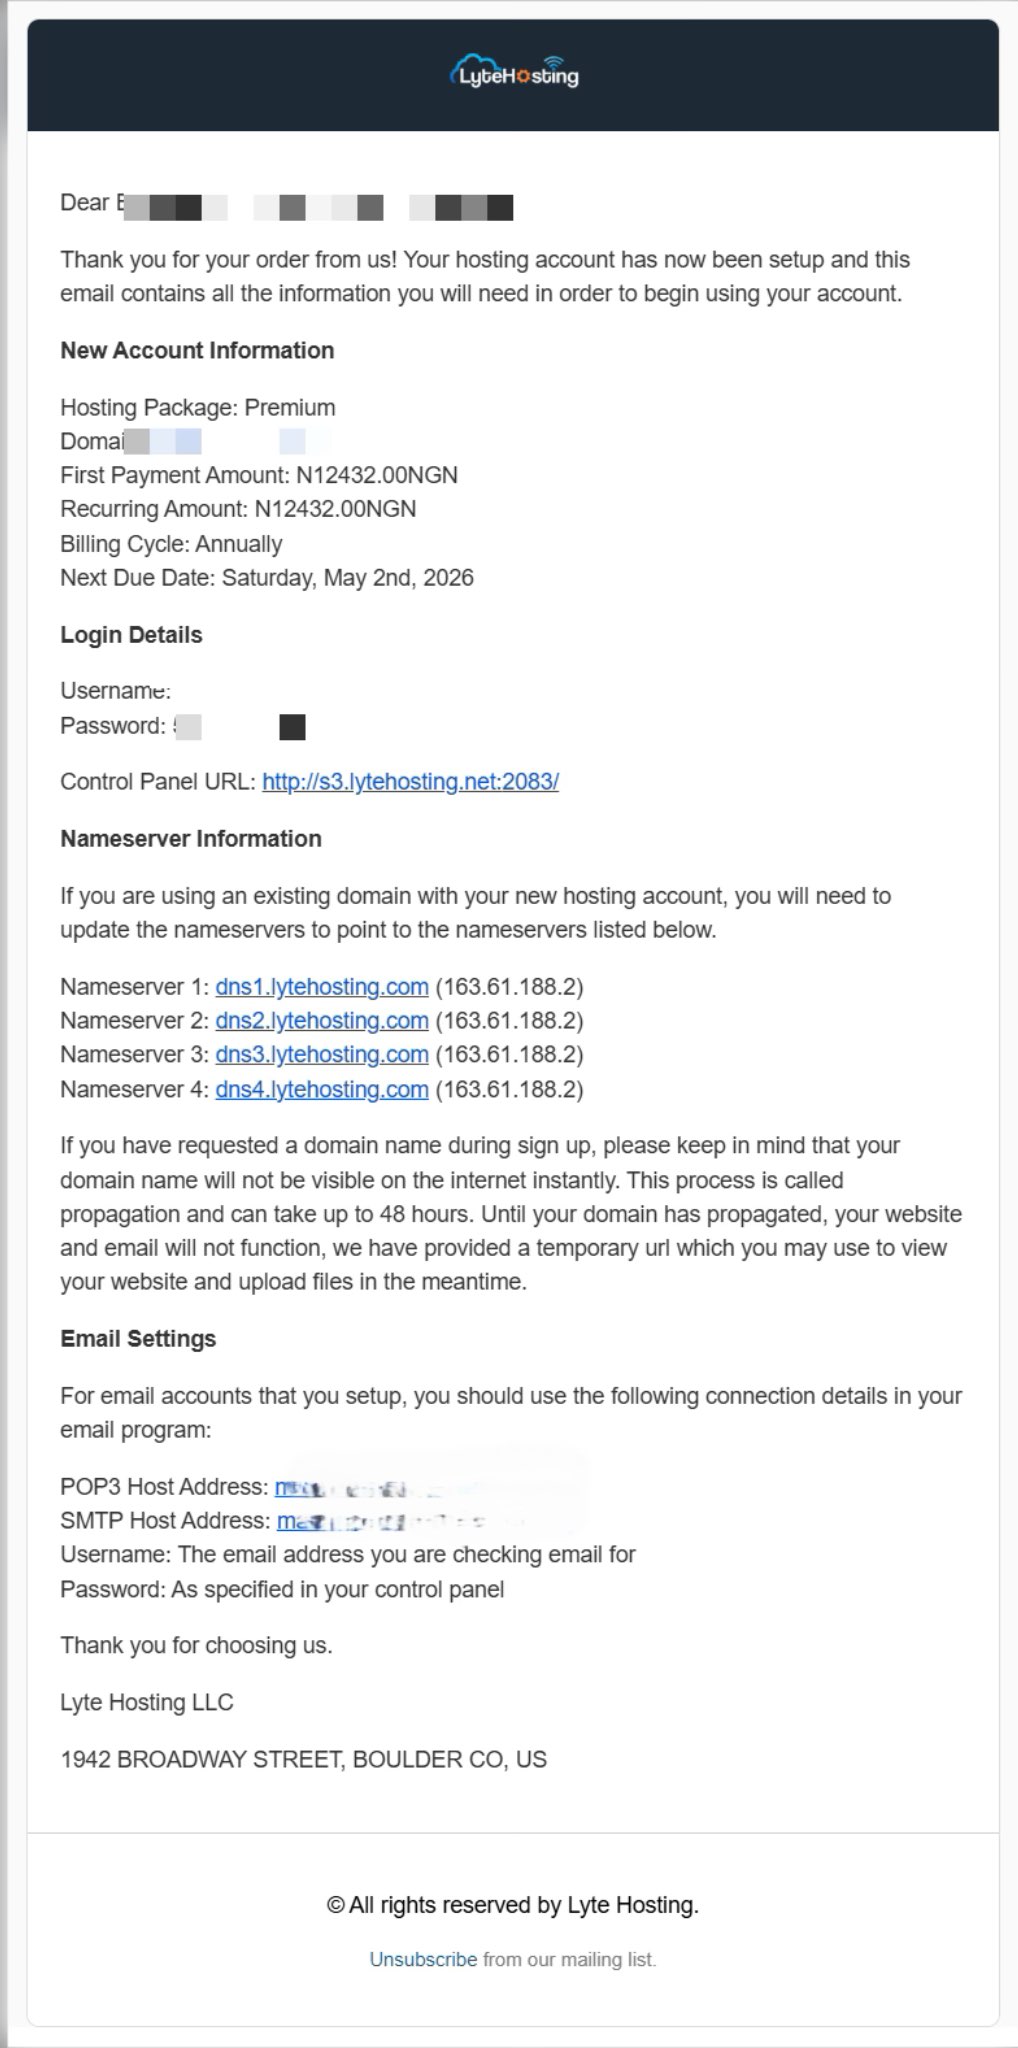
- Method 3: Log in using the details sent to your Email.
Through your Email;
- When you purchase a hosting plan, your cPanel login details (including username, password, and cPanel URL) are automatically sent to your registered email address. Simply check your inbox (or spam folder), locate the email, and use the provided credentials to access your cPanel.
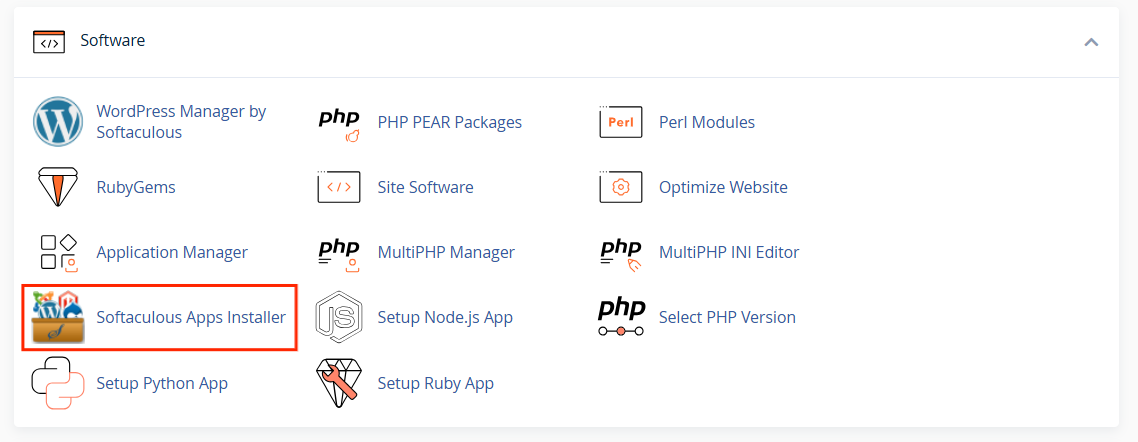
STEP 2: Locate the Software section and click on Softaculous Apps Installer.
STEP 3: Click the box for Installations.
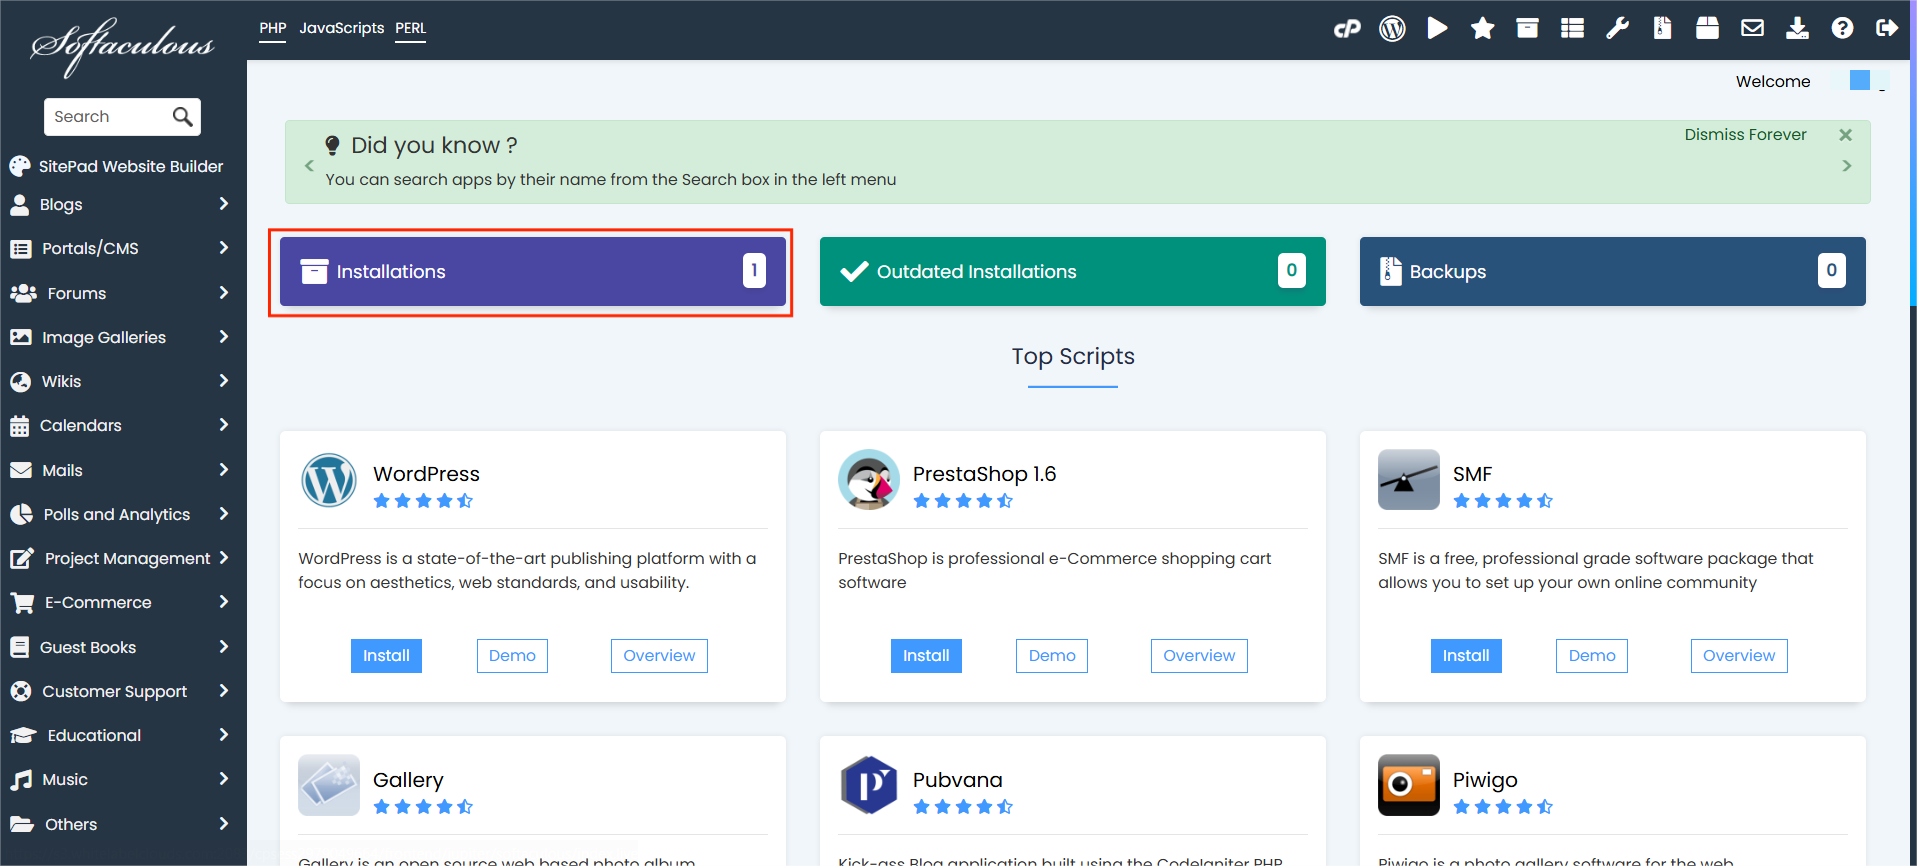
An alternative is to select the All Installations icon from the menu in the upper-right corner.
Note: WordPress will be used as an illustration.
STEP 4: Your current installations will appear on the following page.
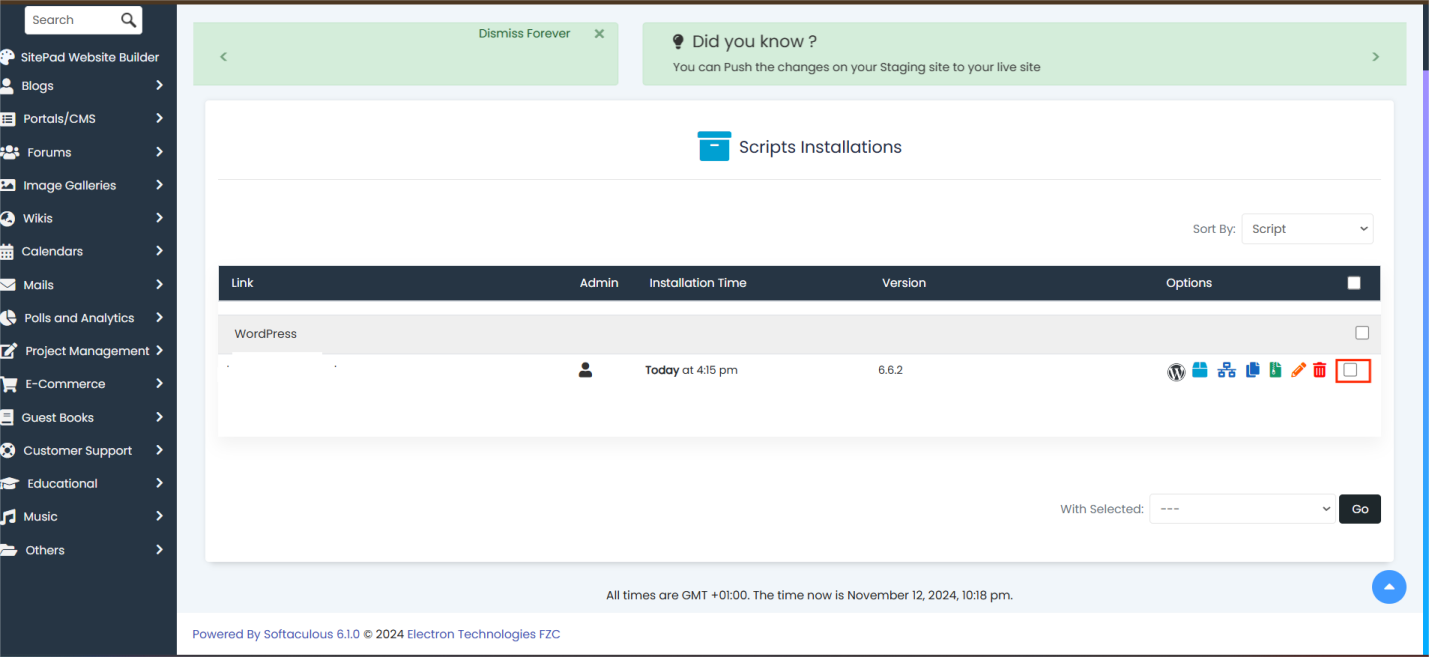
STEP 5: Find the website that you want to backup.
STEP 6: In the Options column, click the Backup icon.
![]()
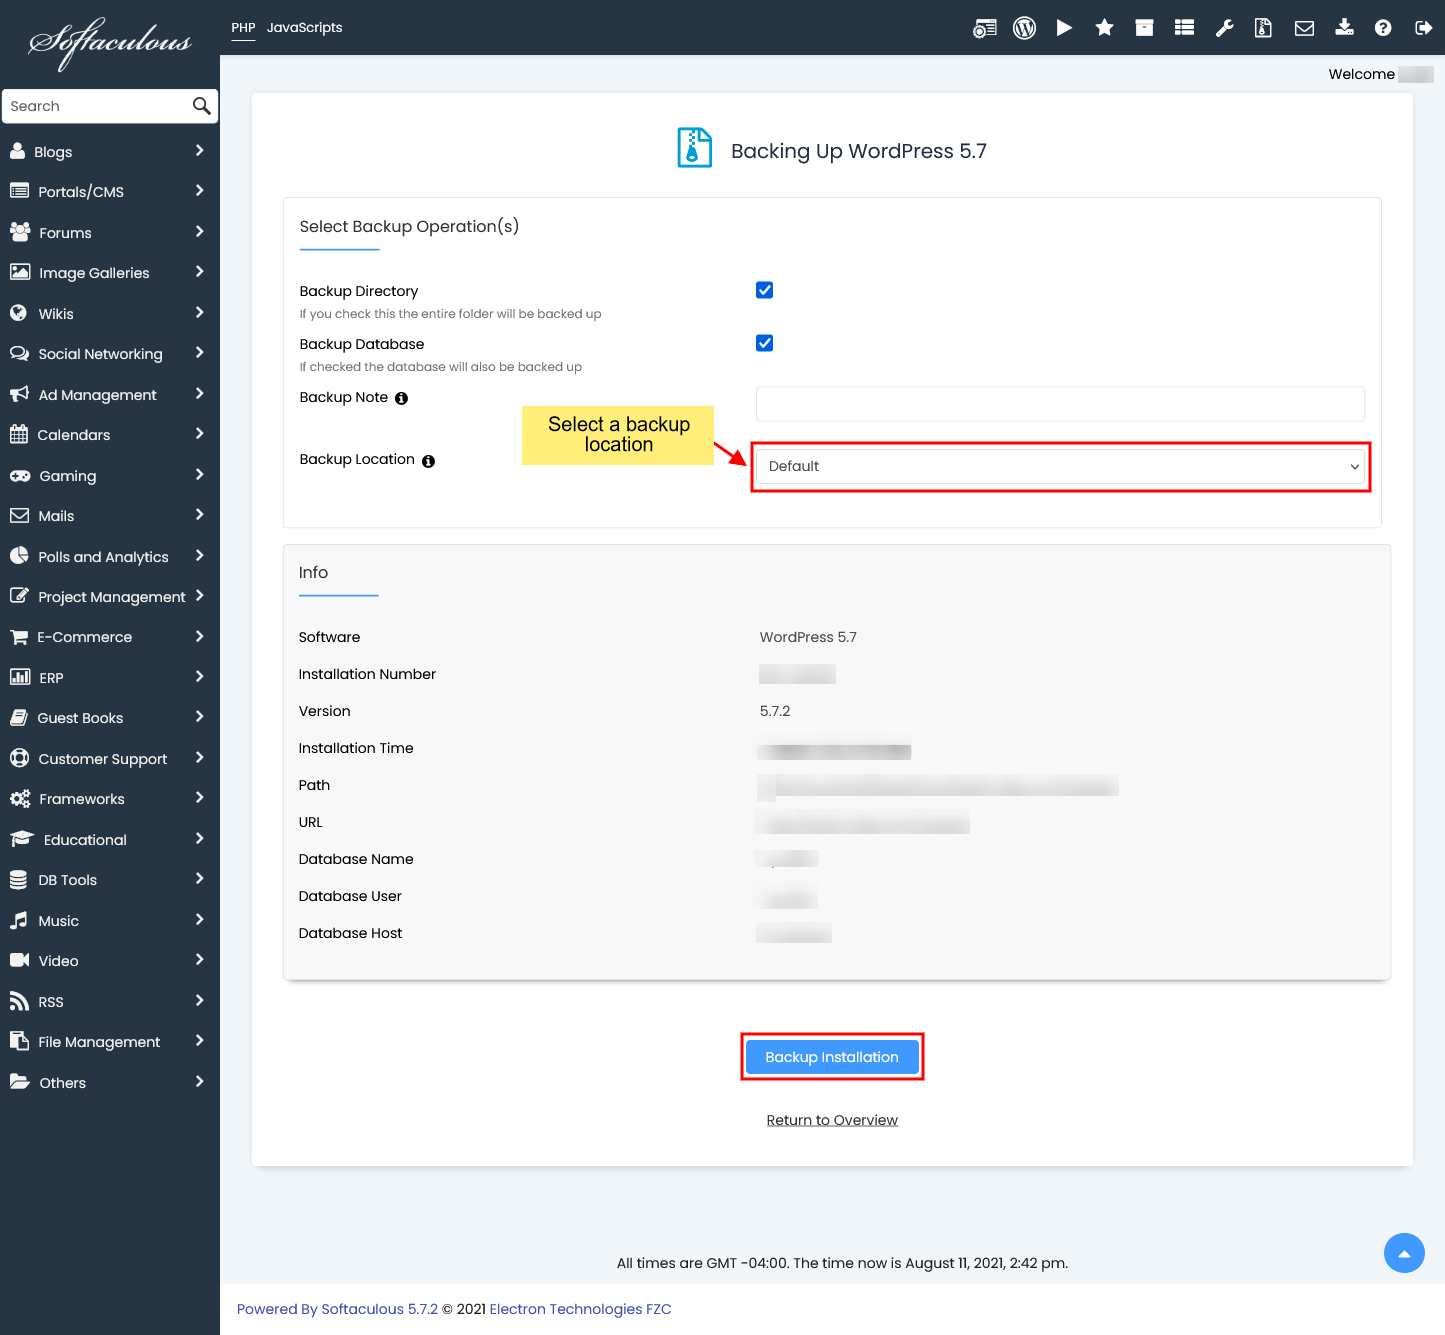
STEP 7: The page with the backup information will be displayed. It will show your current backup count and the maximum number of backups you can create. Additionally, the backup database and backup directory are already chosen by default.
STEP 8: Select a Backup Location, and click the 'Backup Installation' tab.
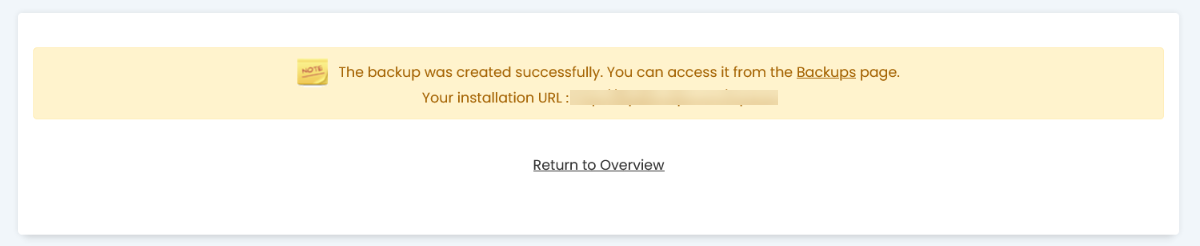
STEP 9: Once done, return to your current installations by clicking the ‘Return to Overview’ link.
STEP 10: You can see the list of Backups on the Backups and Restore page and see the Notes (if you have added the note while taking a backup).
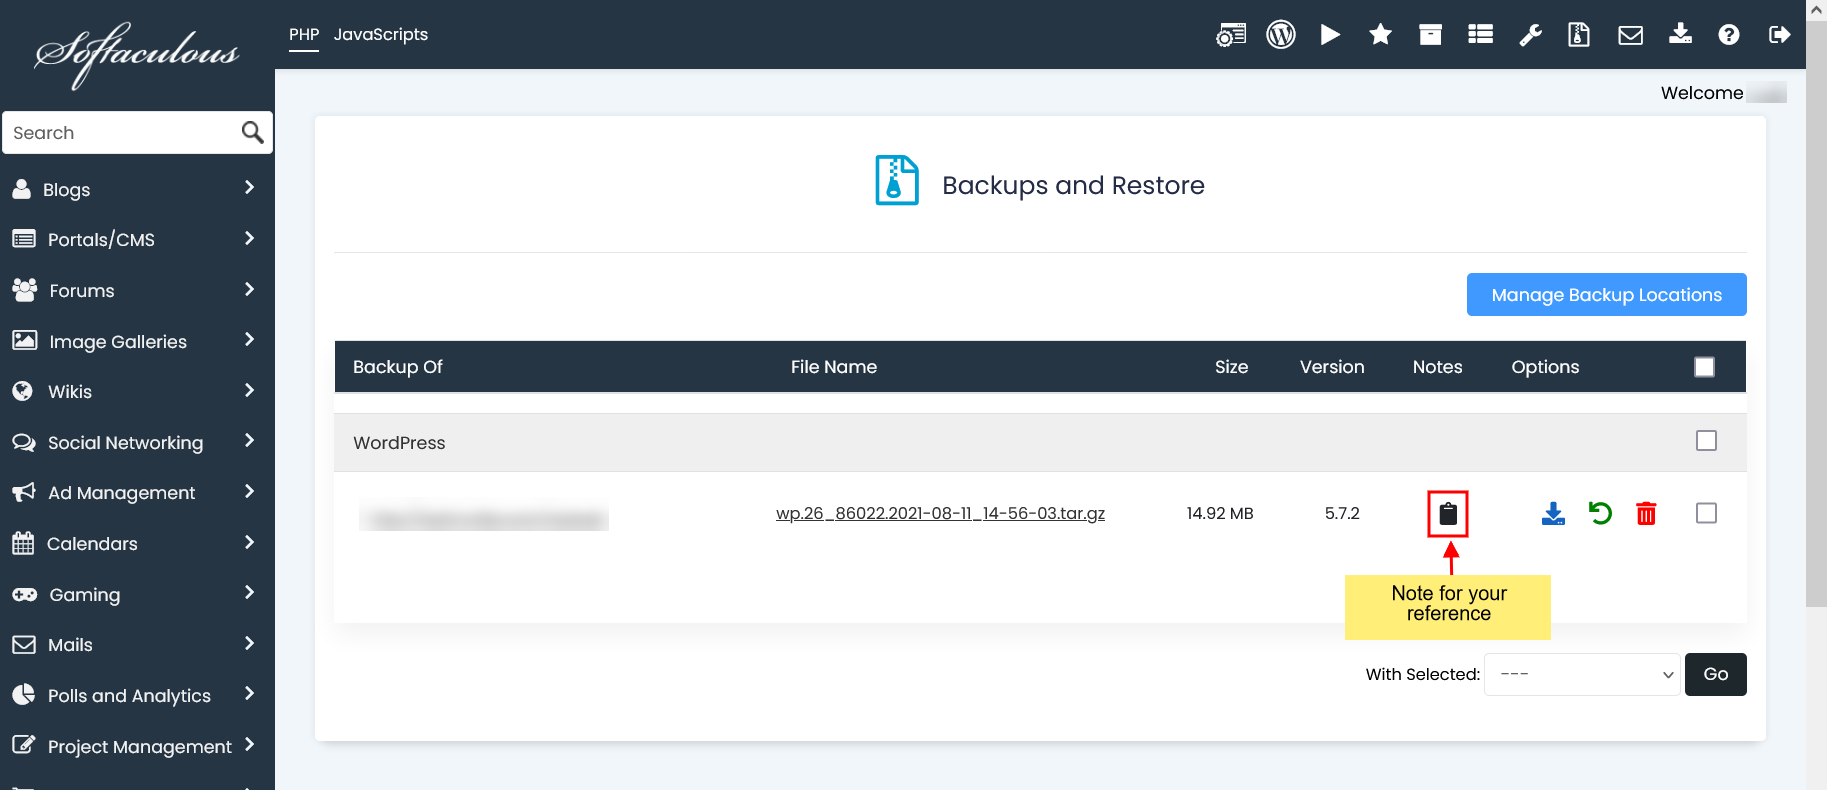
Your backup is created as a .tar gz file and is located in the File Manager's softaculous_backups directory and Backups and Restore section of Softaculous.
Check the following article for more information on how to download the backup:


