If your WordPress admin login page displays a blank screen, the problem might be caused by one or more installed plugins. This issue often arises when a plugin is incompatible with the active theme or when a recent WordPress update introduces conflicts, as plugin developers may not always release timely updates to align with WordPress security changes.
To troubleshoot, you can temporarily disable all plugins to identify whether a plugin is causing the issue.
Identify the Database Name
To determine which database is linked to the WordPress installation you want to modify, follow these steps:
STEP 1: Log in to cPanel.
There are two methods to log into your cPanel.
- Method 1: Log in to your cPanel directly.
- Method 2: Log in to your cPanel through your Customer Portal.
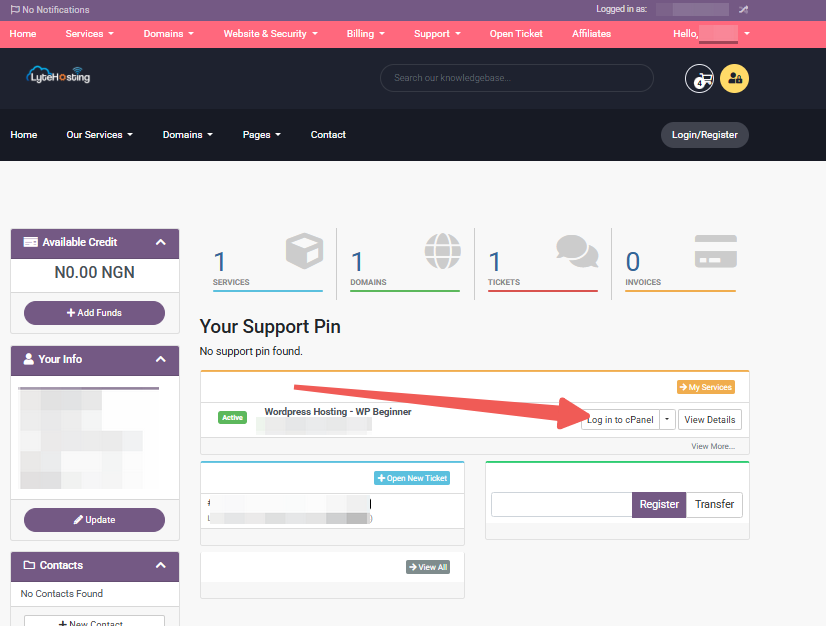
Through your Customer Portal;
- Log in to your Customer Portal.
- Click on "Log in to cPanel".
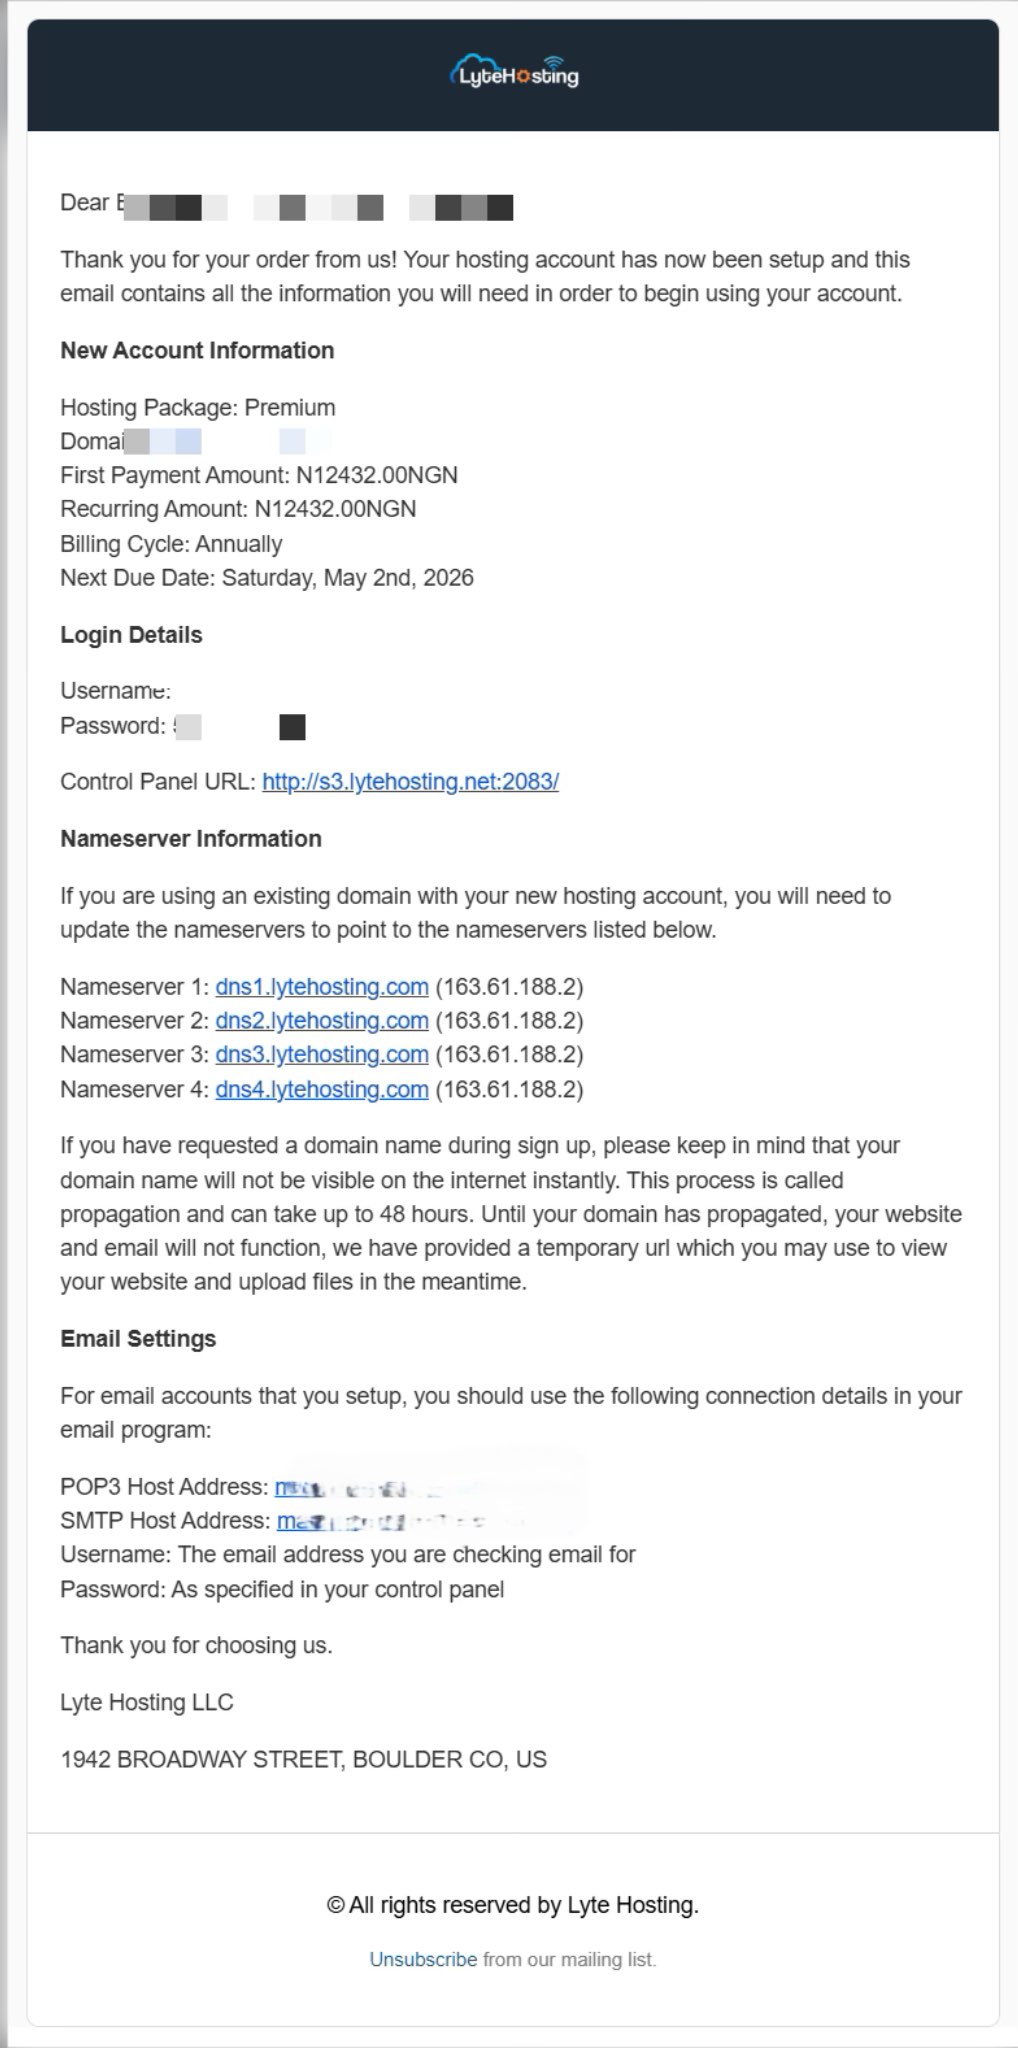
- Method 3: Log in using the details sent to your Email.
Through your Email;
- When you purchase a hosting plan, your cPanel login details (including username, password, and cPanel URL) are automatically sent to your registered email address. Simply check your inbox (or spam folder), locate the email, and use the provided credentials to access your cPanel.
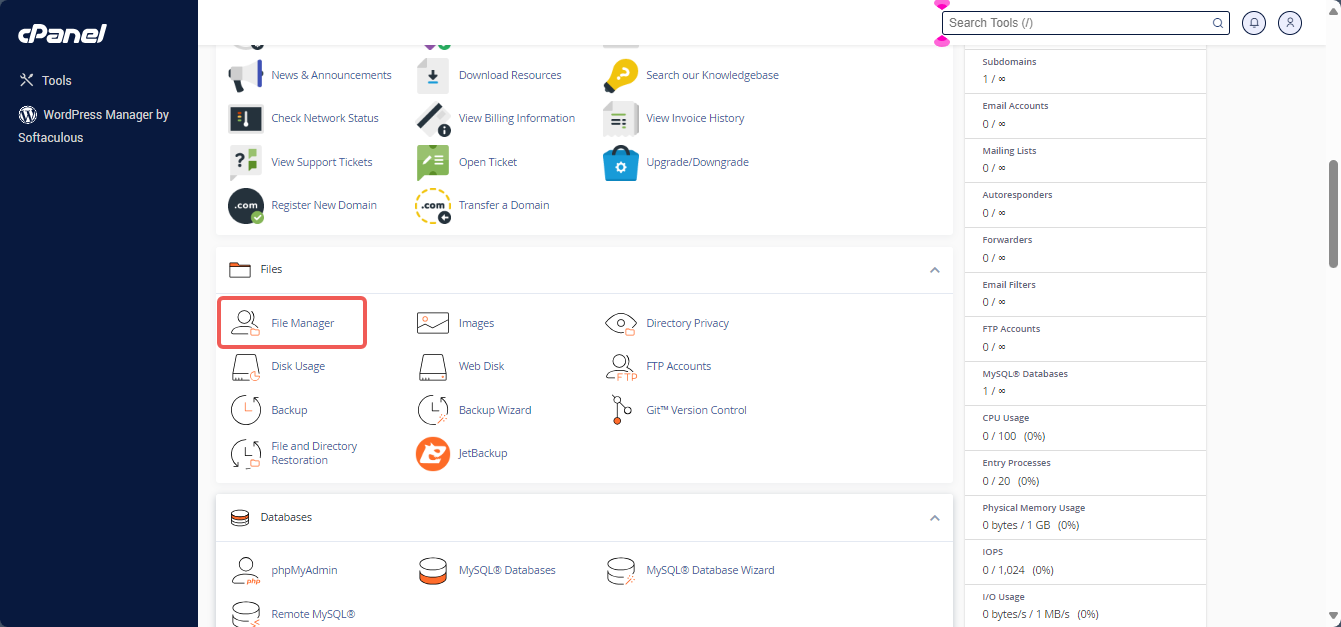
STEP 2: Locate the Files section and click on File Manager.
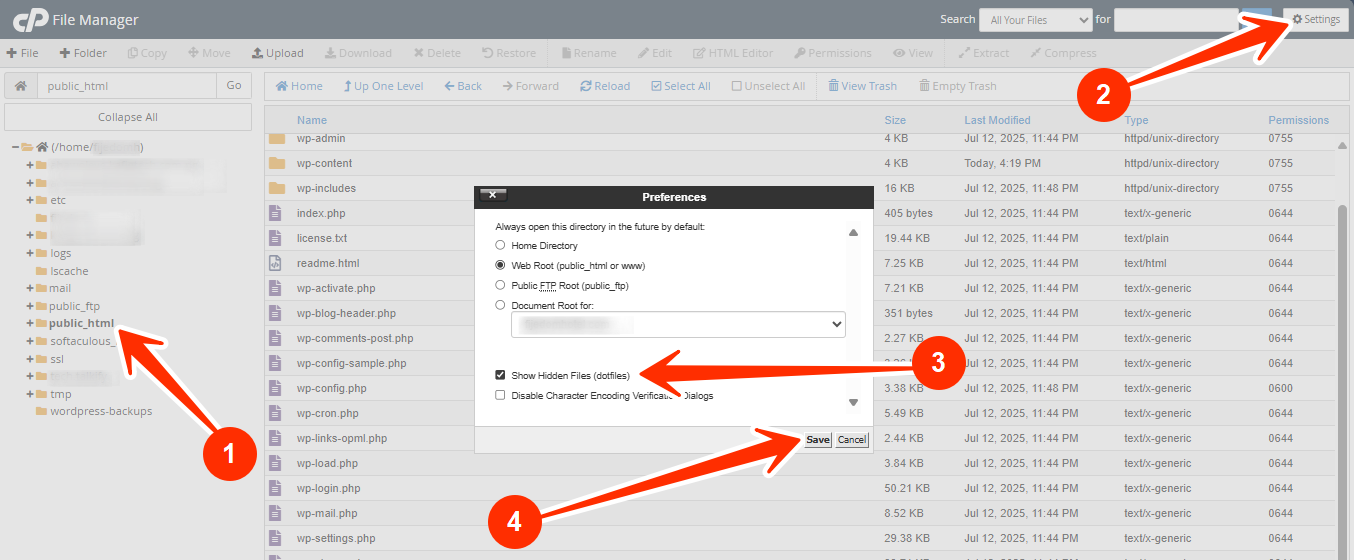
STEP 3: On the left-side menu, open the public_html folder (or the document root for your domain).
STEP 4: Click the Settings option located in the top-right corner.
STEP 5: Check the box for Show Hidden Files (dotfiles) to ensure all files are visible. By default, the WebRoot (public_html or www) is selected.
STEP 6: Click Save to apply your changes.
STEP 7: Find the wp-config.php file in the public_html folder.
STEP 8: Right-click on the file and select View, or use the View button in the top-right corner.
STEP 9: Look for the line that defines the database name. It will appear like this:
define('DB_NAME', 'domain_wrdp1');
The term domain is typically a prefixed version of your actual domain name or cPanel username.
Note down the database name for later use.
Disable All Plugins
To temporarily disable all plugins and troubleshoot the issue, follow these steps:
STEP 1: Log in to cPanel (Refer to the steps above if you need guidance on accessing your cPanel.)
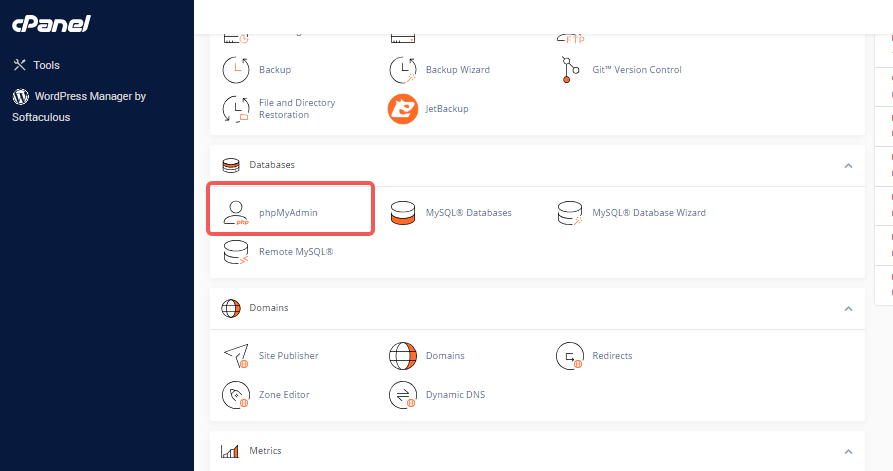
STEP 2: Locate the Databases section and click on phpMyAdmin.
STEP 3: From the left-side navigation menu in phpMyAdmin, click on the database name associated with your WordPress installation.
STEP 4: In the same menu, select the wp_options table.
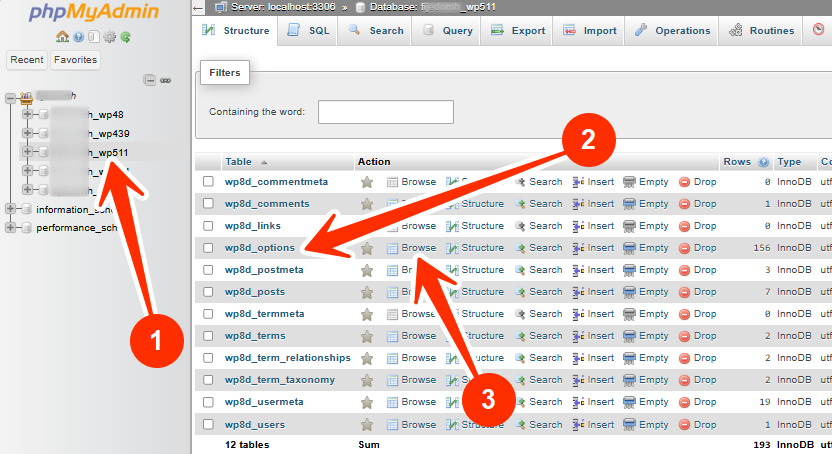
STEP 5: Within the options table, locate the option_name column and search for the row labeled active_plugins.
- If the row isn’t visible, use the pagination controls (e.g., the > button) at the bottom of the page to navigate through additional rows.
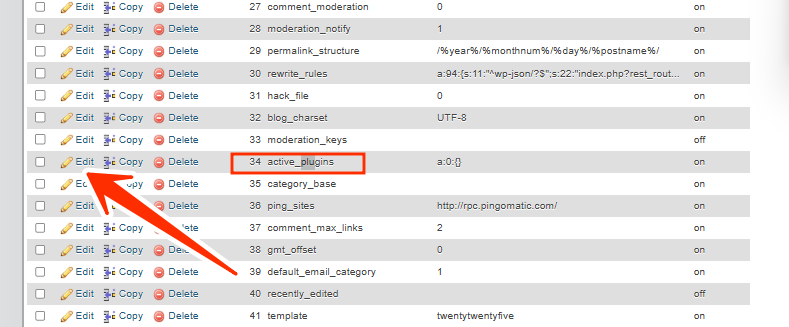
STEP 6: In the wp_options table, locate the active_plugins row and click Edit.
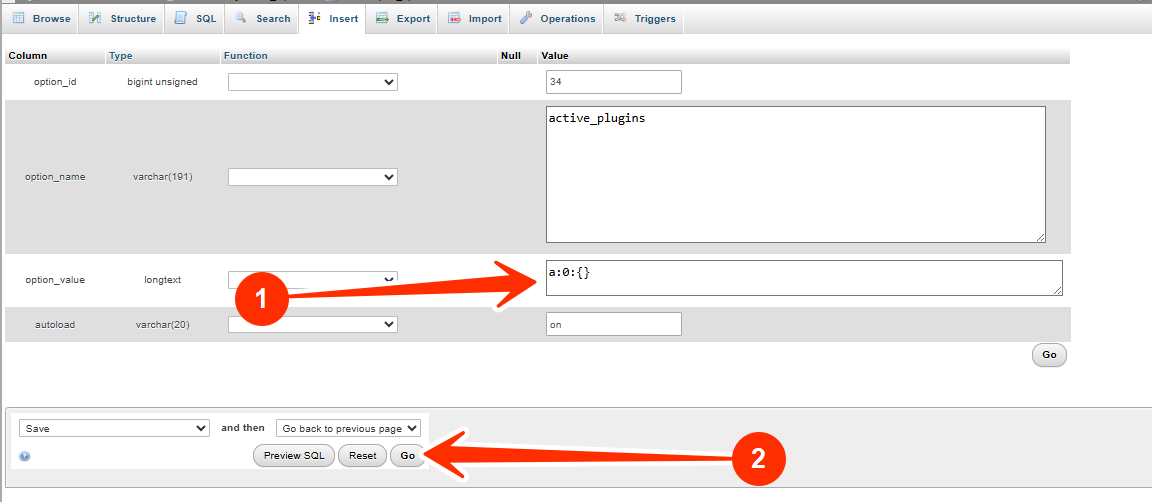
STEP 7: In the option_value field, you will see code resembling this:
a:5:{i:0;s:35:"add-from-server/add-from-server.php";i:1;s:25:"age-verify/age-verify.php";i:2;s:19:"jetpack/jetpack.php";i:4;s:69:"simple-full-screen-background-image/simple-full-screen-background.php";i:6;s:27:"wp-super-cache/wp-cache.php";}
STEP 8: Highlight all the code in the box, cut it, and save it in a text file on your local PC for safekeeping.
STEP 9: Once the code has been removed, click Go to save your changes.
At this point, all plugins are disabled. However, they remain installed with their settings intact.
Re-enabling Plugins
To re-enable the plugins through the database:
1. Follow the same steps to locate the active_plugins row.
2. Paste the saved code back into the option_value field.
3. Click Go to save the changes and re-enable the plugins.
Troubleshoot the Plugin Causing Issues
To identify the problematic plugin, enable each plugin individually by following these steps:
STEP 1: Access your WordPress Admin Dashboard.
STEP 2: Navigate to Plugins, and click on Installed Plugins.
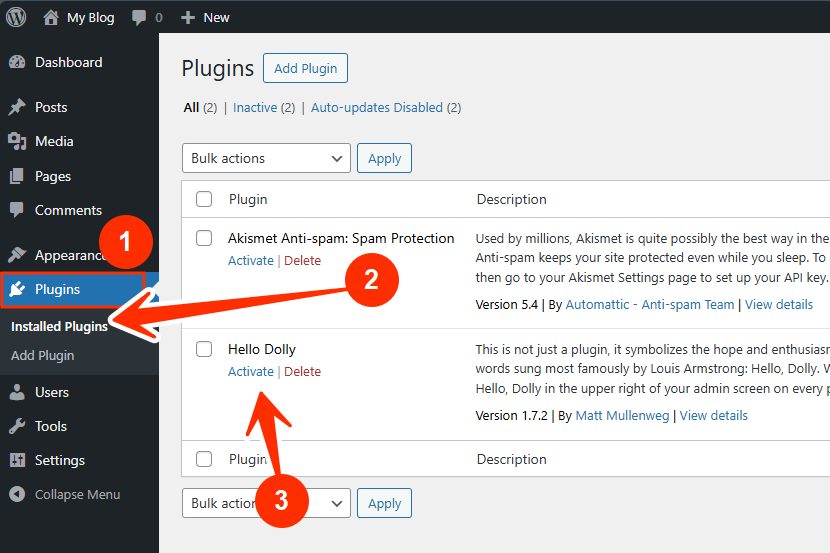
Enable one plugin at a time, refreshing the site after each activation to check for issues. This process helps pinpoint the plugin causing the problem.


