WHM and cPanel use the designated system email address to send important notifications. These alerts keep users informed about significant updates or modifications, such as password resets, package changes, and other system-related events.
WHM Notifications
WHM notifications are triggered when major version updates are made through WHM or when significant updates are applied to WHM/cPanel.
WHM notices can only be sent to one email address for each cPanel user, typically the reseller owner's email, as individual cPanel users can configure their contact email for receiving cPanel notifications.
To update the email address that receives WHM alerts:
Note: These are the exact steps to modify the notification email address for a cPanel user through WHM. Any changes made to the account will trigger a notification to the email address listed.
STEP 1: Log in to WHM.
STEP 2: From the left-side menu, under Account Information, select List Accounts.
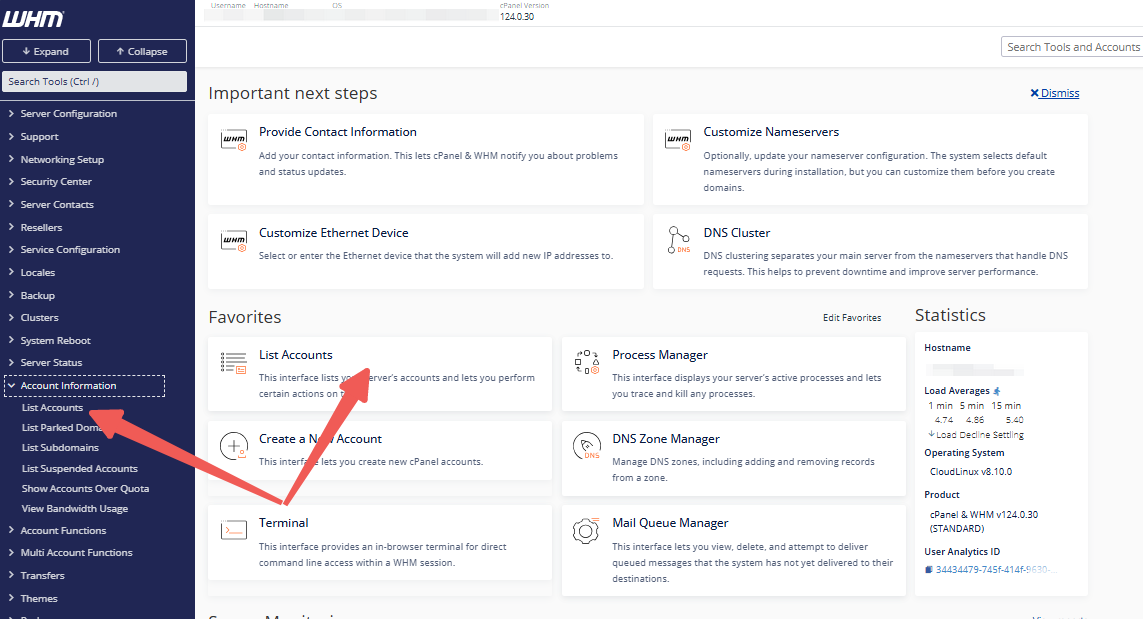
STEP 3: Click the + icon next to the primary domain (the one linked to your billing account).
STEP 4: Under Change Contact Email, enter the email address you'd like to use.
STEP 5: Finally, click Change.
![]()
Note: The email address used to send notification emails cannot be changed; these will always be sent from the server (whm_user@server.domain.com).
Update Contact Email for cPanel Notifications through cPanel
cPanel users can set their notification email for any changes made to their cPanel. To do this:
STEP 1: Log in to cPanel.
There are three methods to log into your cPanel.
- Method 1: Log in to your cPanel directly.
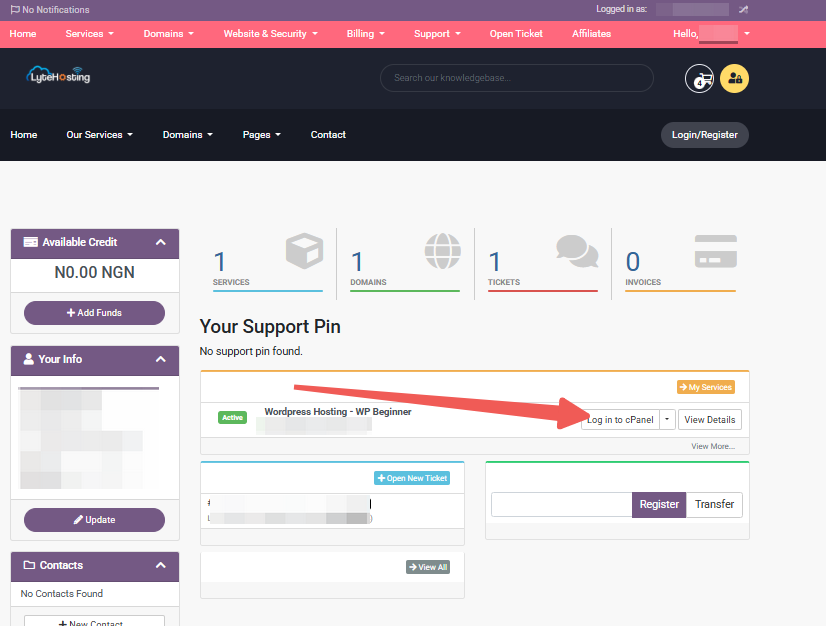
- Method 2: Log in to your cPanel through your Customer Portal.
Through your Customer Portal;
- Log in to your Customer Portal.
- Click on "Log in to cPanel".
- Method 3: Log in using the details sent to your Email.
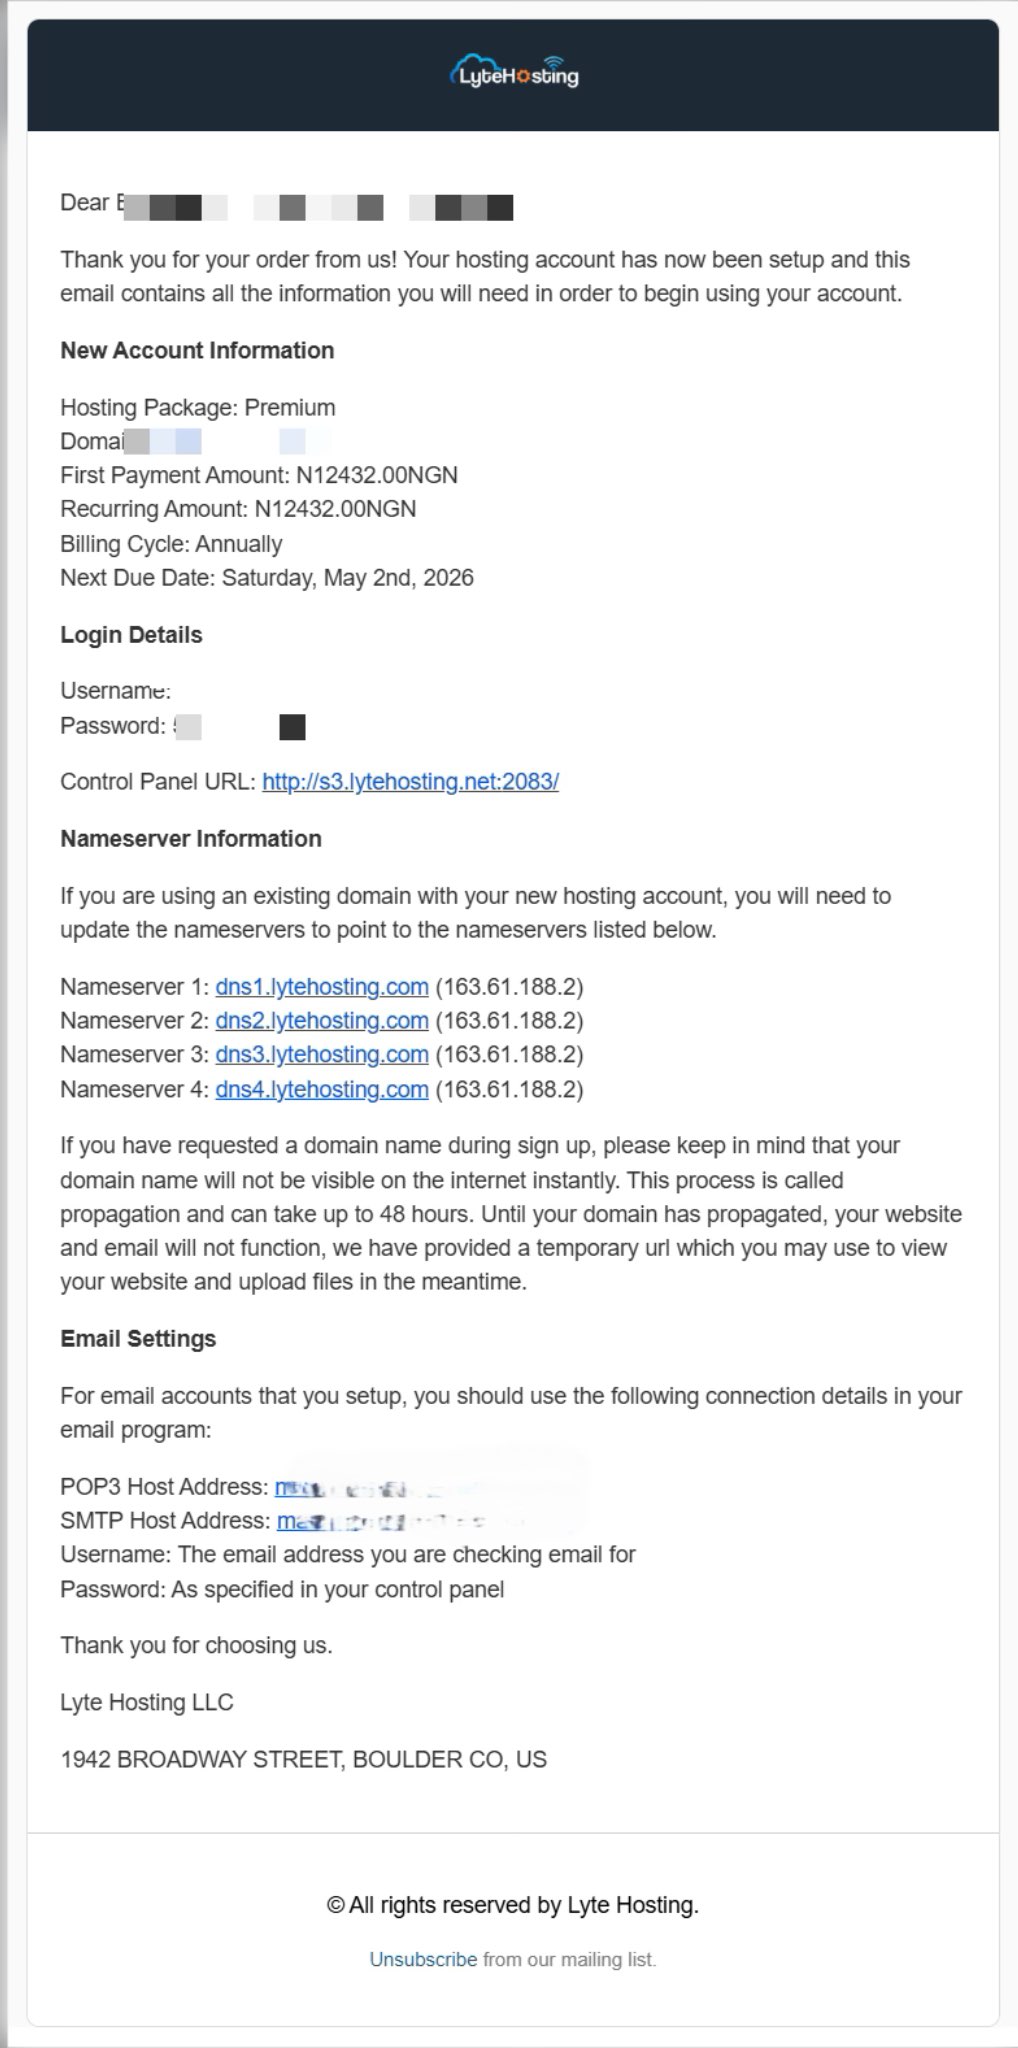
Through your Email;
- When you purchase a hosting plan, your cPanel login details (including username, password, and cPanel URL) are automatically sent to your registered email address. Simply check your inbox (or spam folder), locate the email, and use the provided credentials to access your cPanel.
STEP 2: Locate the Preferences section and click on Contact Information.

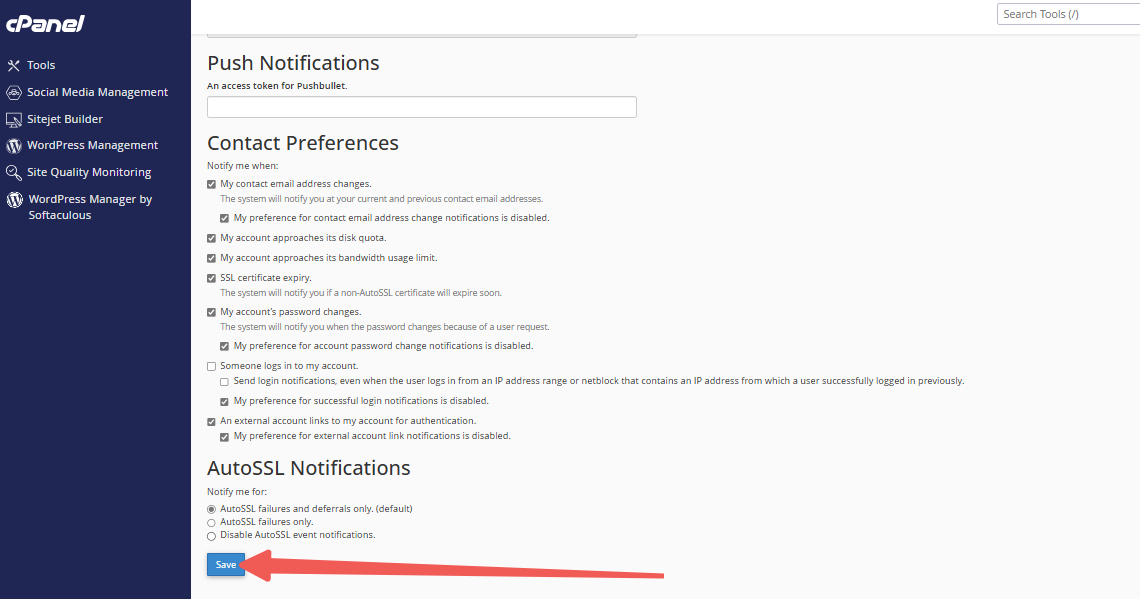
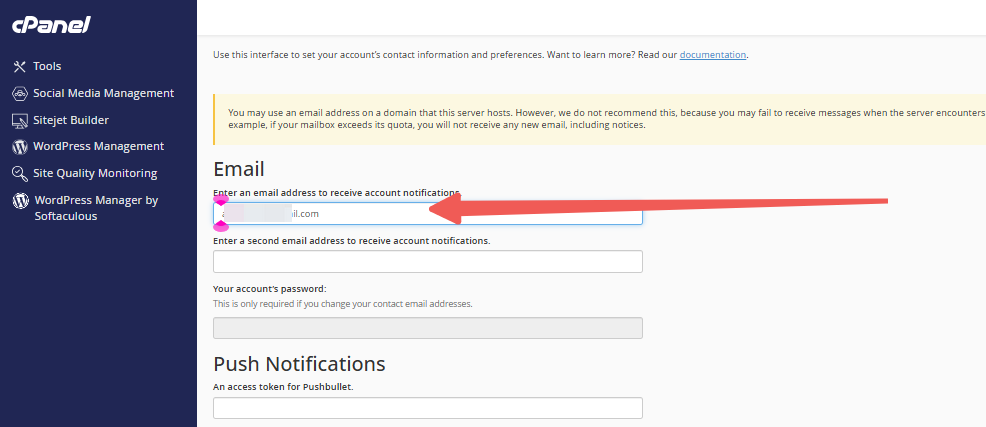
STEP 3: Enter your preferred primary email address and select the checkboxes for the types of notifications you'd like to receive.
STEP 4: Click Save.
