You can enable or disable icons within a client's cPanel with the Feature Manager. After creating a feature list, update the client's package and apply the new list.
How to Set Up a Feature List in WHM
The Feature Manager in WHM allows you to customize the tools and icons available in a client's cPanel. By creating a feature list, you can enable or disable specific features based on the hosting plan or user needs. Follow these steps to set up a feature list:
STEP 1: Log in to WHM.
STEP 2: Navigate to the Packages section:
- Use the Search box on the left-side panel to find it quickly.
- Alternatively, you can use the Search box at the top.
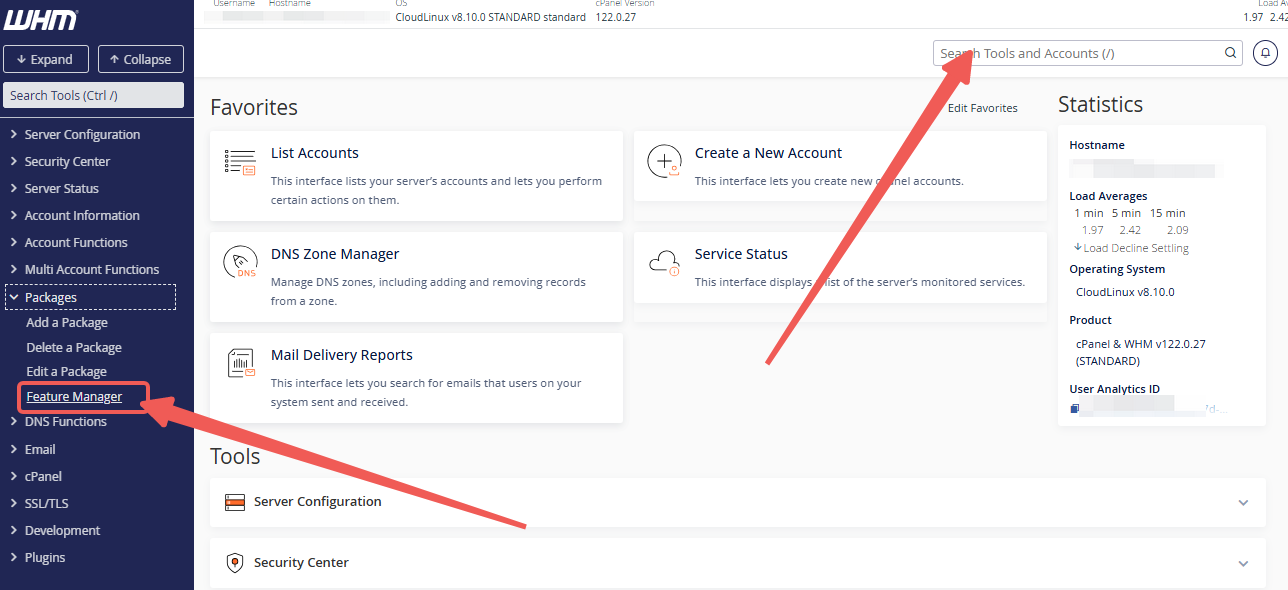
STEP 3: Select Feature Manager.
- You can also manually expand the Packages section on the left-side panel and click Feature Manager from the list.
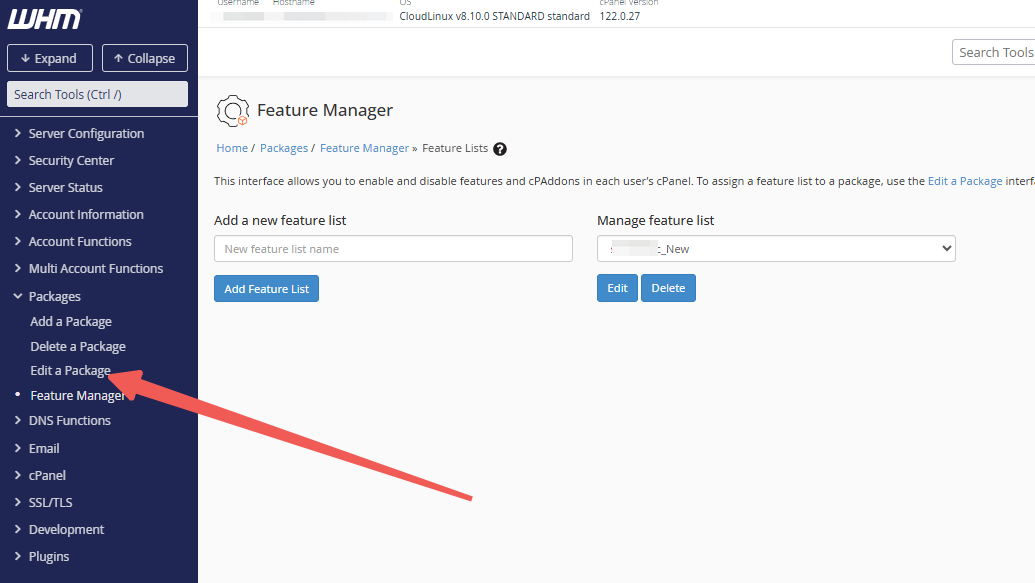
STEP 4: Enter a name for your feature list in the designated field, and click the Add Feature List tab.

STEP 5: Select the icons you want to enable, and deselect any icons you wish to disable.
STEP 6: Click on Save to apply the settings.
![]()
Congratulations! You have successfully set up a feature list in WHM.
Assigning a Feature List to a Package
Once you've created a feature list, you need to assign it to a package to apply the settings to relevant domains. Follow these steps to do so:
STEP 1: Search for "Edit a Package" in the left panel.
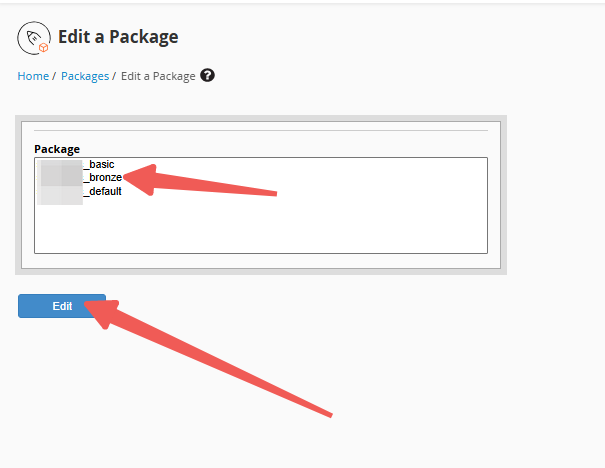
STEP 2: Select the package name for your domain, then click on Edit.
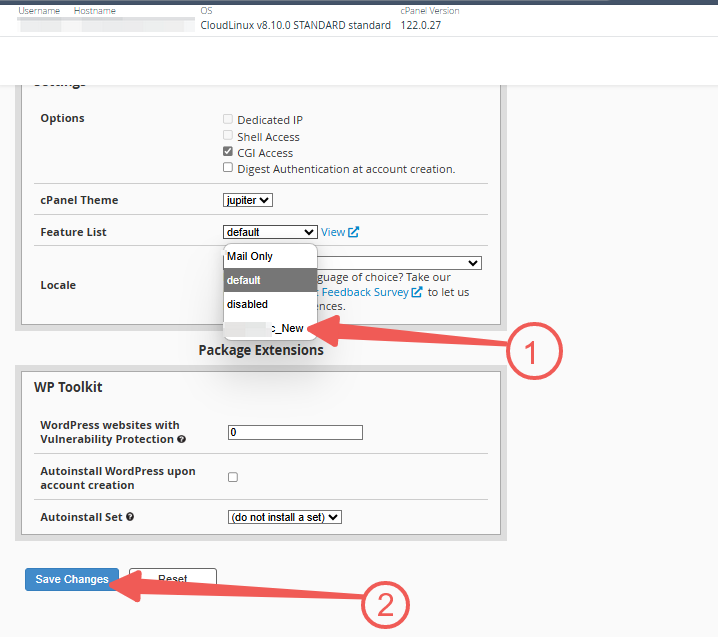
STEP 3: Go to the Settings section and use the dropdown to display the available feature lists.
STEP 4: Choose the new feature list.
STEP 5: Click the Save Changes tab.
Now, all domains using that package will have the selected cPanel icons.


