You can easily upload files directly through cPanel's File Manager. The File Manager is a user-friendly web interface that lets you manage all the files related to your account.
To upload a file using File Manager:
STEP 1: Log in to cPanel.
There are three methods to log into your cPanel.
- Method 1: Log in to your cPanel directly.
- Method 2: Log in to your cPanel through your Customer Portal.
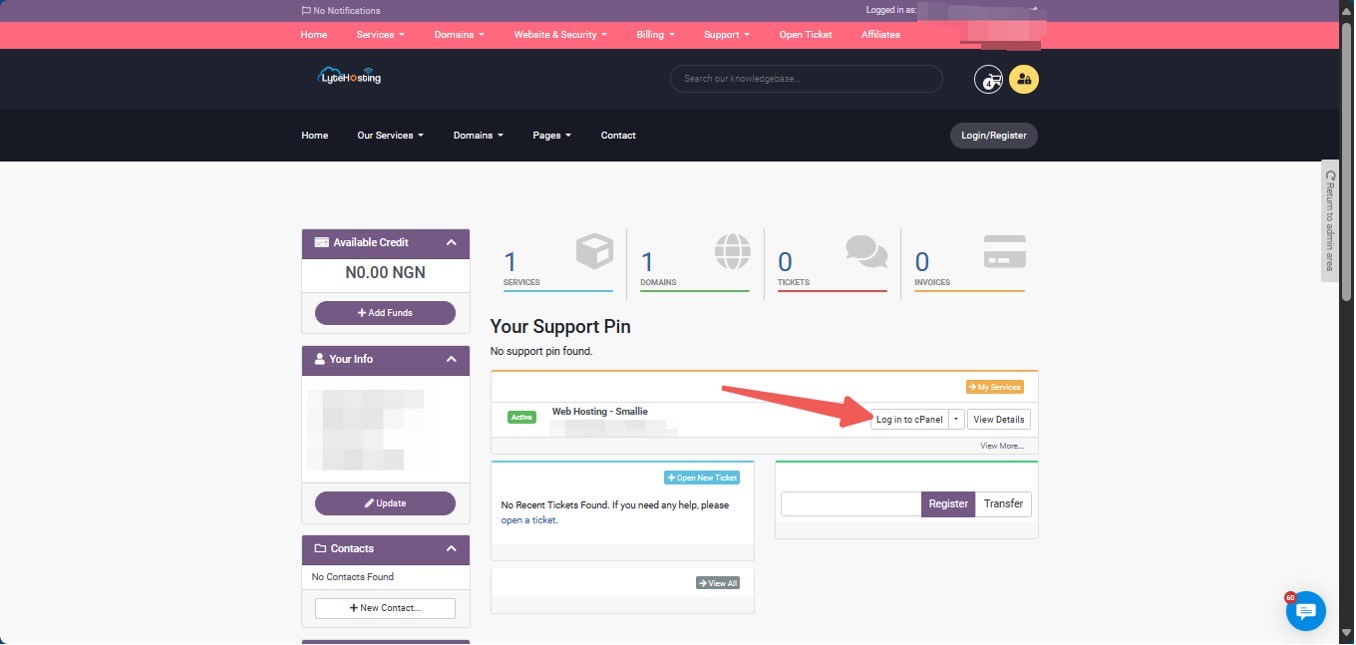
Through your Customer Portal;
- Log in to your Customer Portal.
- Click on "Log in to cPanel".
- Method 3: Log in using the details sent to your Email.
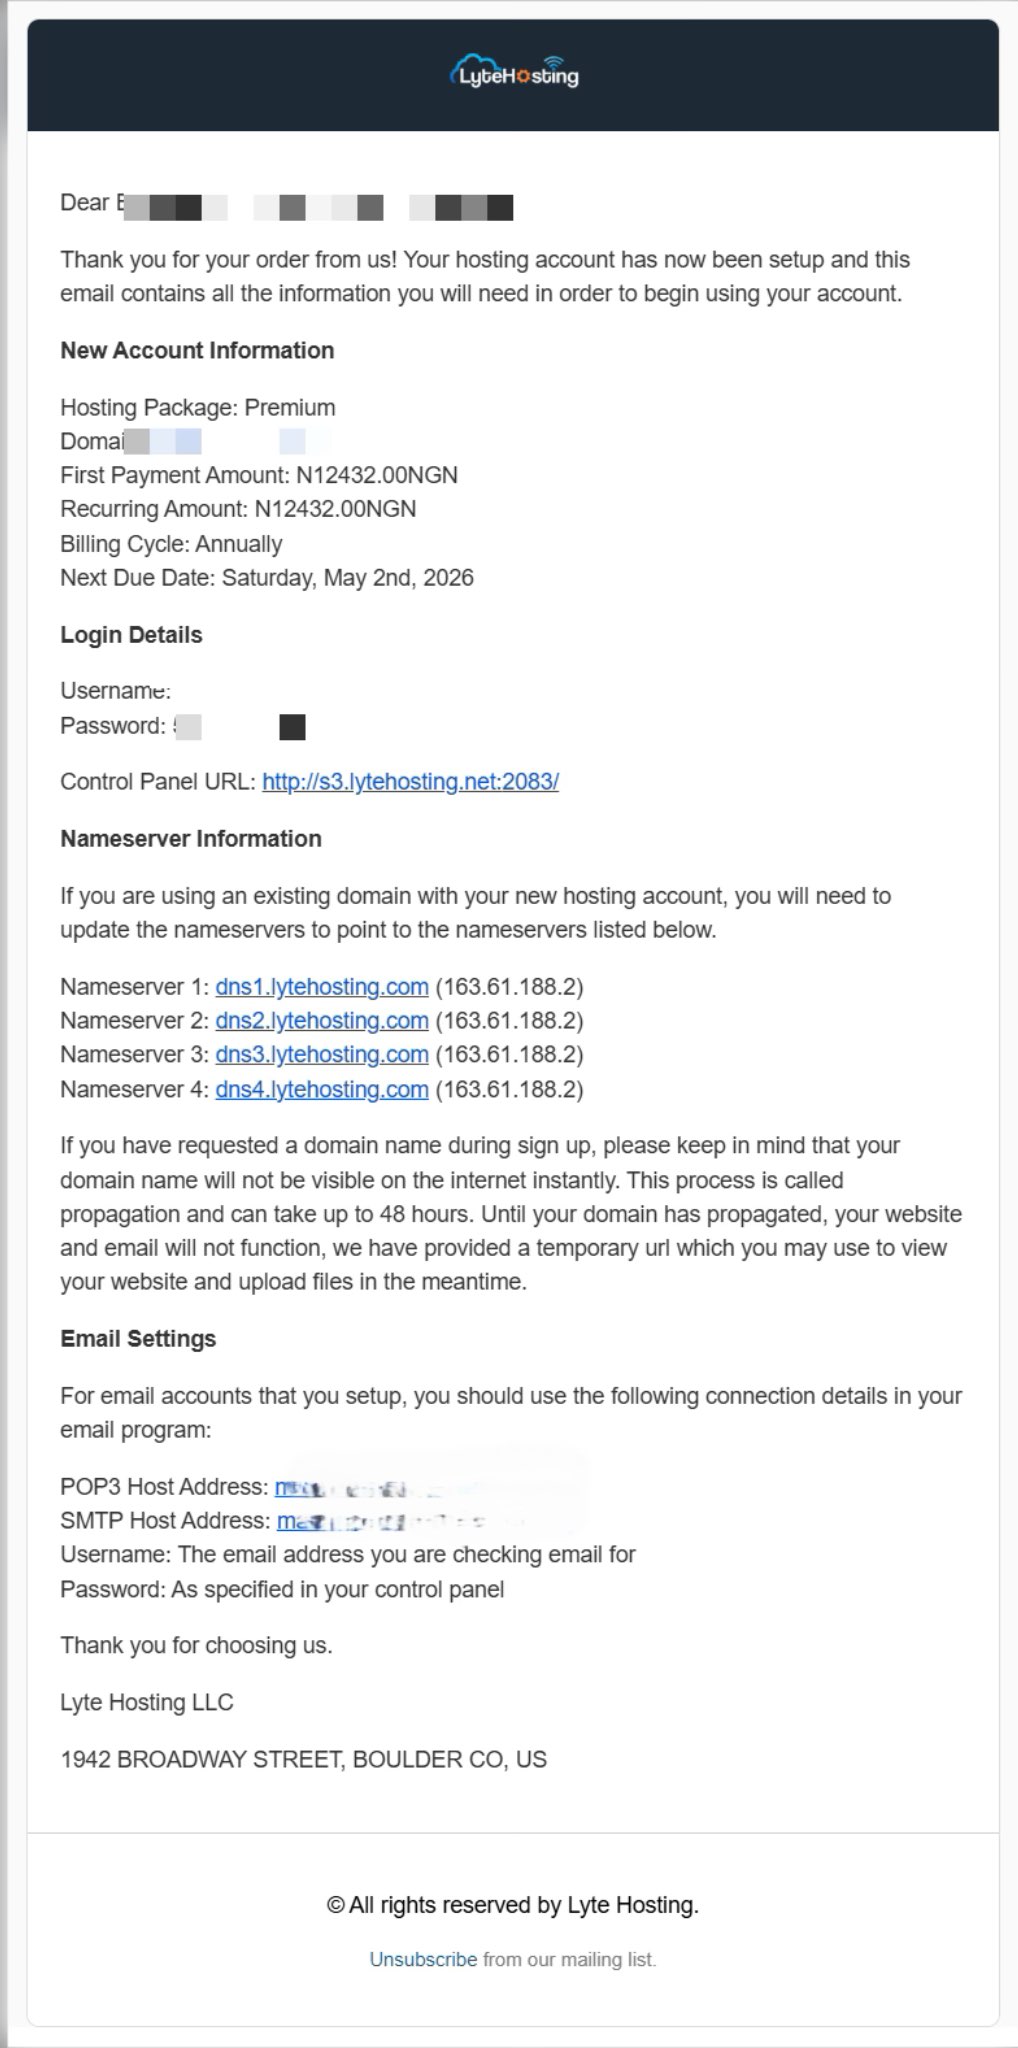
Through your Email;
- When you purchase a hosting plan, your cPanel login details (including username, password, and cPanel URL) are automatically sent to your registered email address. Simply check your inbox (or spam folder), locate the email, and use the provided credentials to access your cPanel.
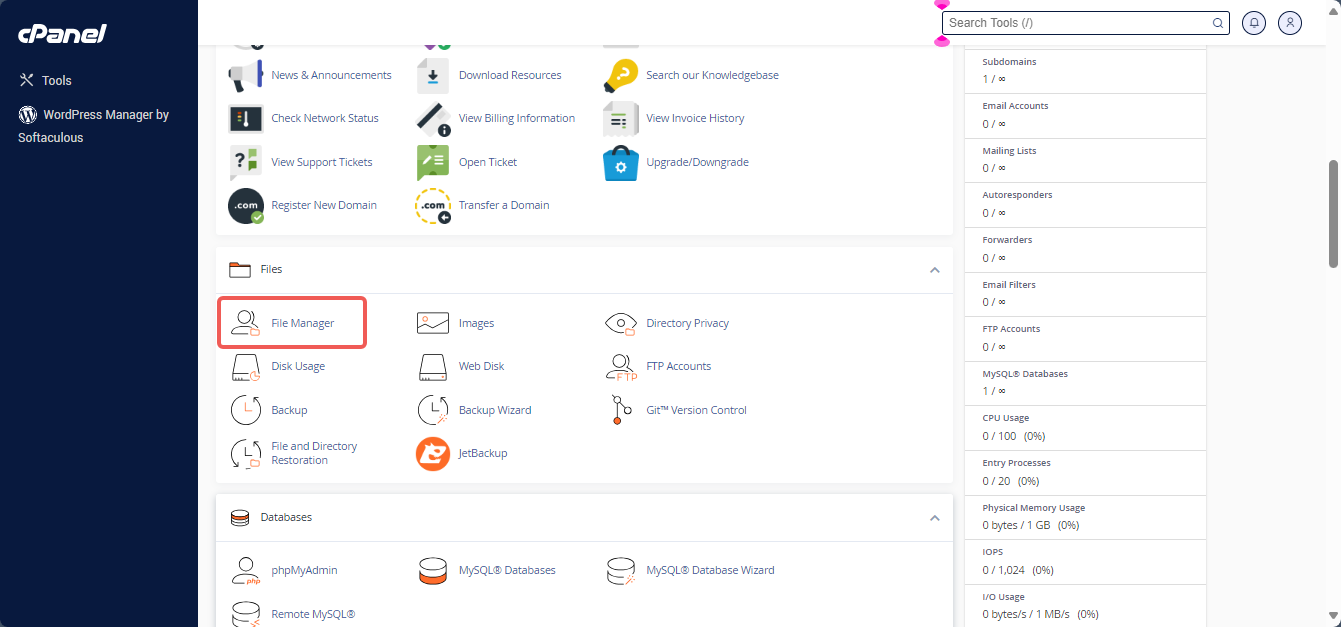
STEP 2: Locate the Files section and click on File Manager.
STEP 3: In the upper right corner of File Manager, click on Settings.
STEP 4: Choose Web Root and enable Show Hidden Files (dotfiles), then click Save.

The Web Root option will take you directly to the folder in your hosting account that's accessible on the web, typically the public_html or www folder, where your website files should be placed.
STEP 5: Find and click the folder where you want to upload files.
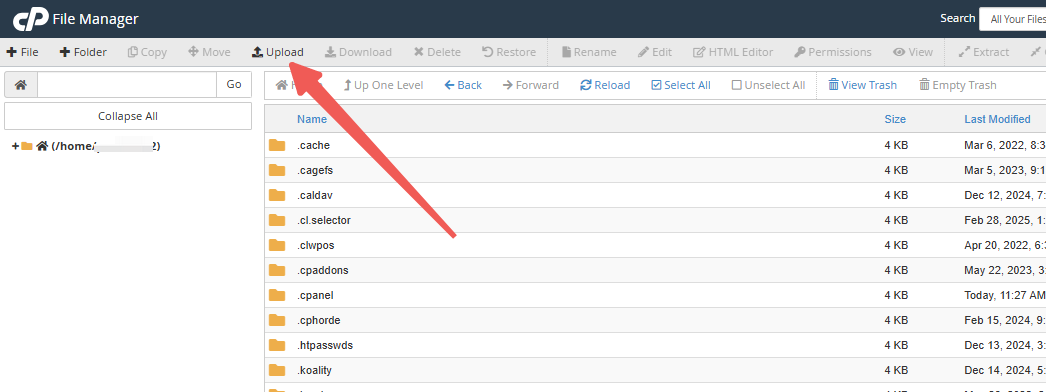
STEP 6: Once inside the folder, click Upload in the top toolbar.
STEP 7: Click Select File (or Choose File, depending on your browser).
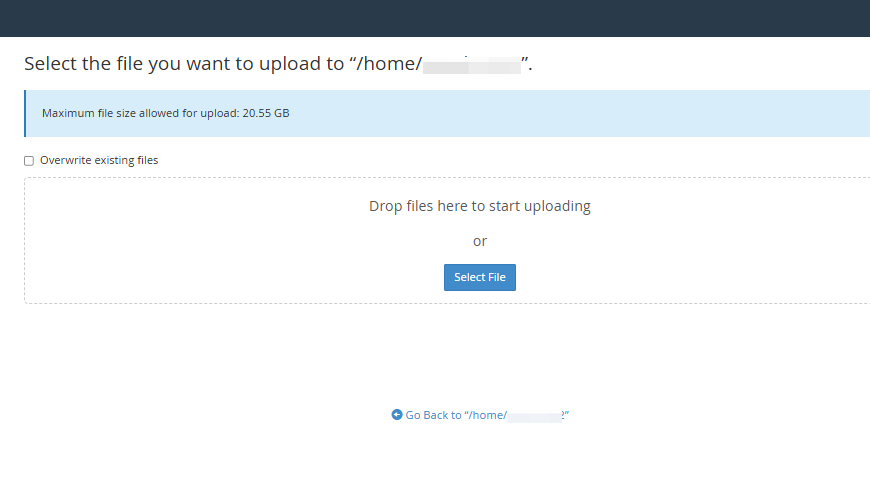
STEP 8: Choose the file from your computer and click Open to start the upload.
You can select additional files while the upload is in progress.
Once the upload is complete, the file will appear in the folder.
If you want to share your uploaded files, you can find the shareable URL. For more details, check out the article How to Locate the URL of a File.


